Payers management
On the payer management page, you can:
- Create new payers.
- Edit existing payers’ details.
- Deactivate payers.
Important: Deactivating a payer disables all associated payment methods. These methods will no longer be used for automatic renewals, balance top-ups, or selecting when ordering new servers or services.
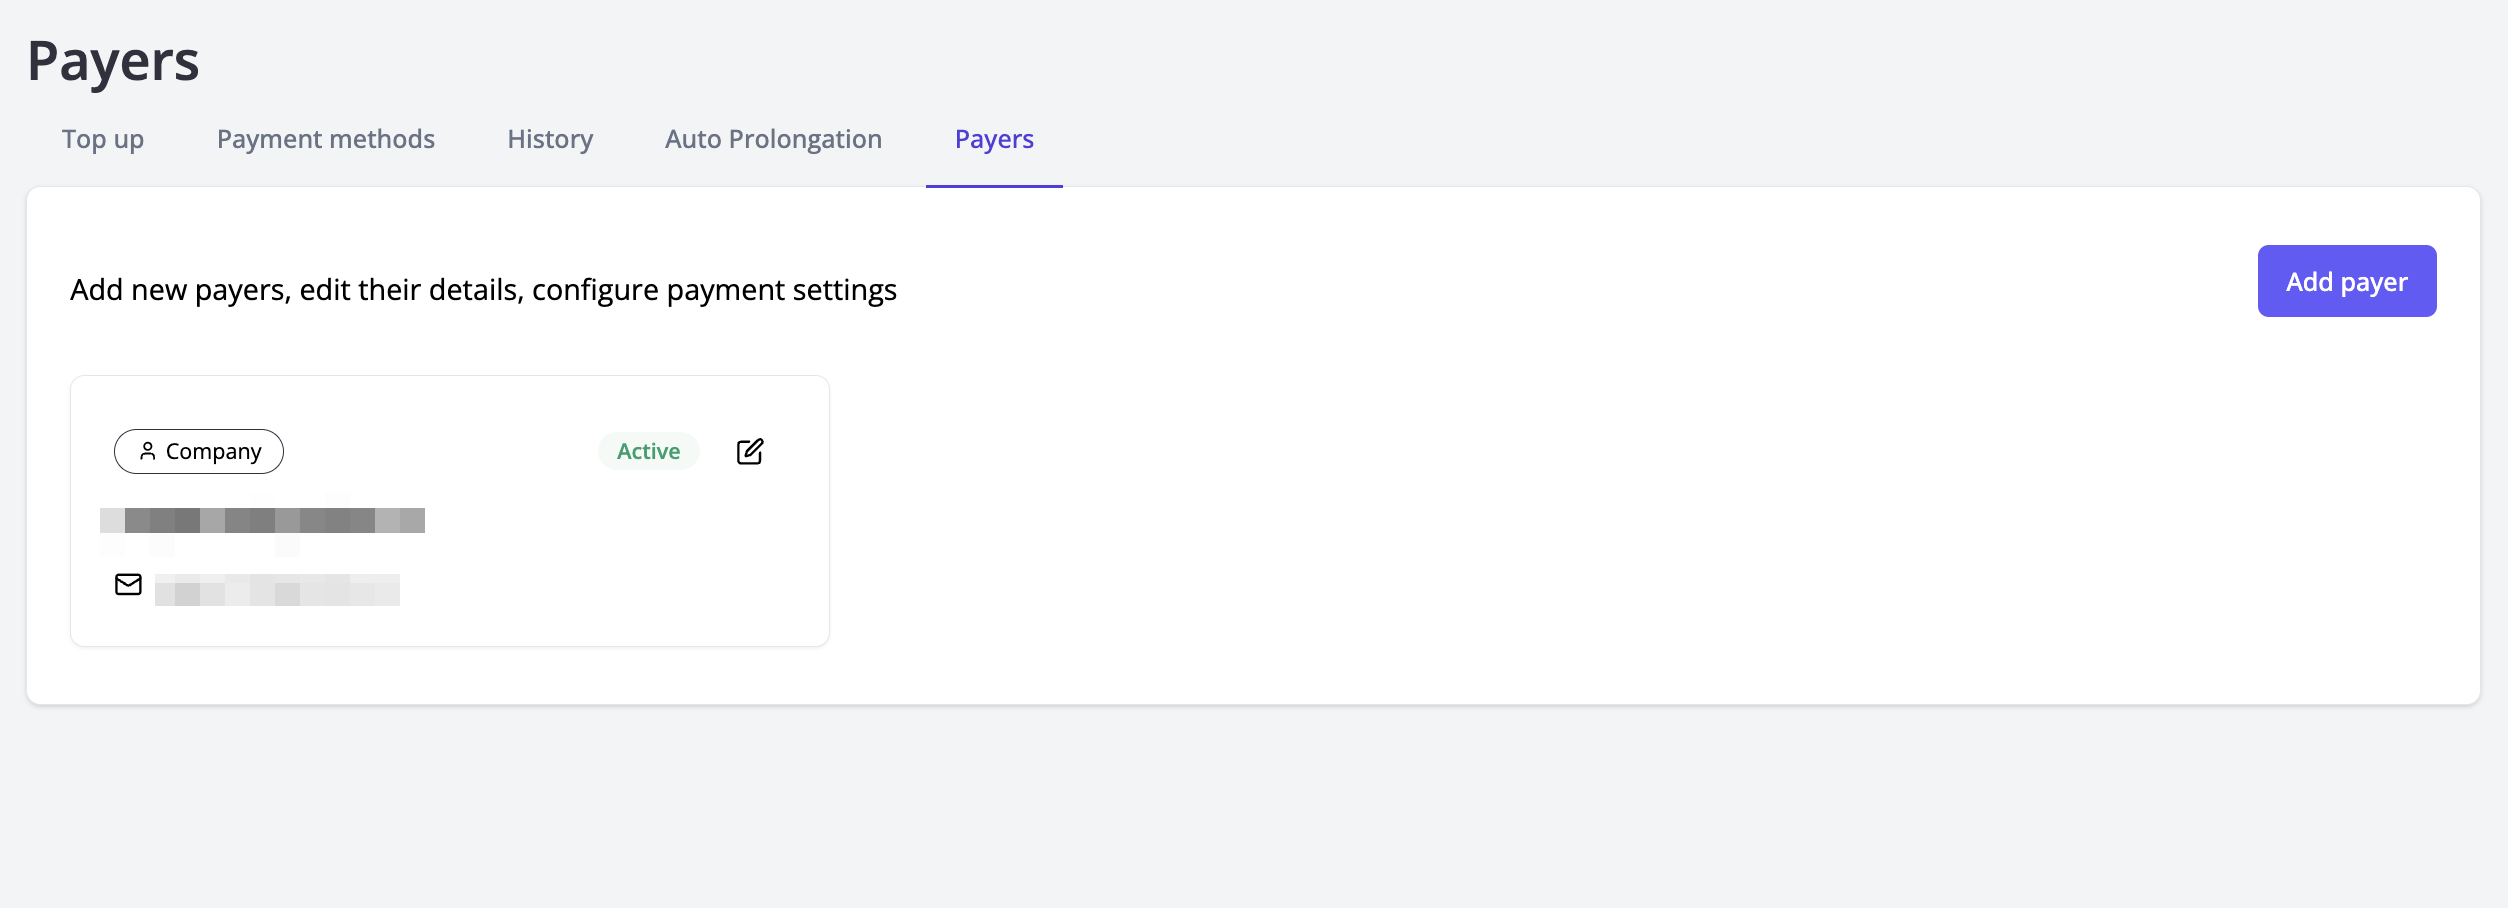
List of Payers
The payer list displays all payers linked to your account. Each payer entry includes:
- Type (individual or company)
- Status (active or deactivated)
- Contact person’s email
- Contact person’s name
Creating a Payer
To add a new payer:
- Click the "Create Payer" button.
- Select the payer type: individual or company. Additional fields will appear based on your choice.
Individual
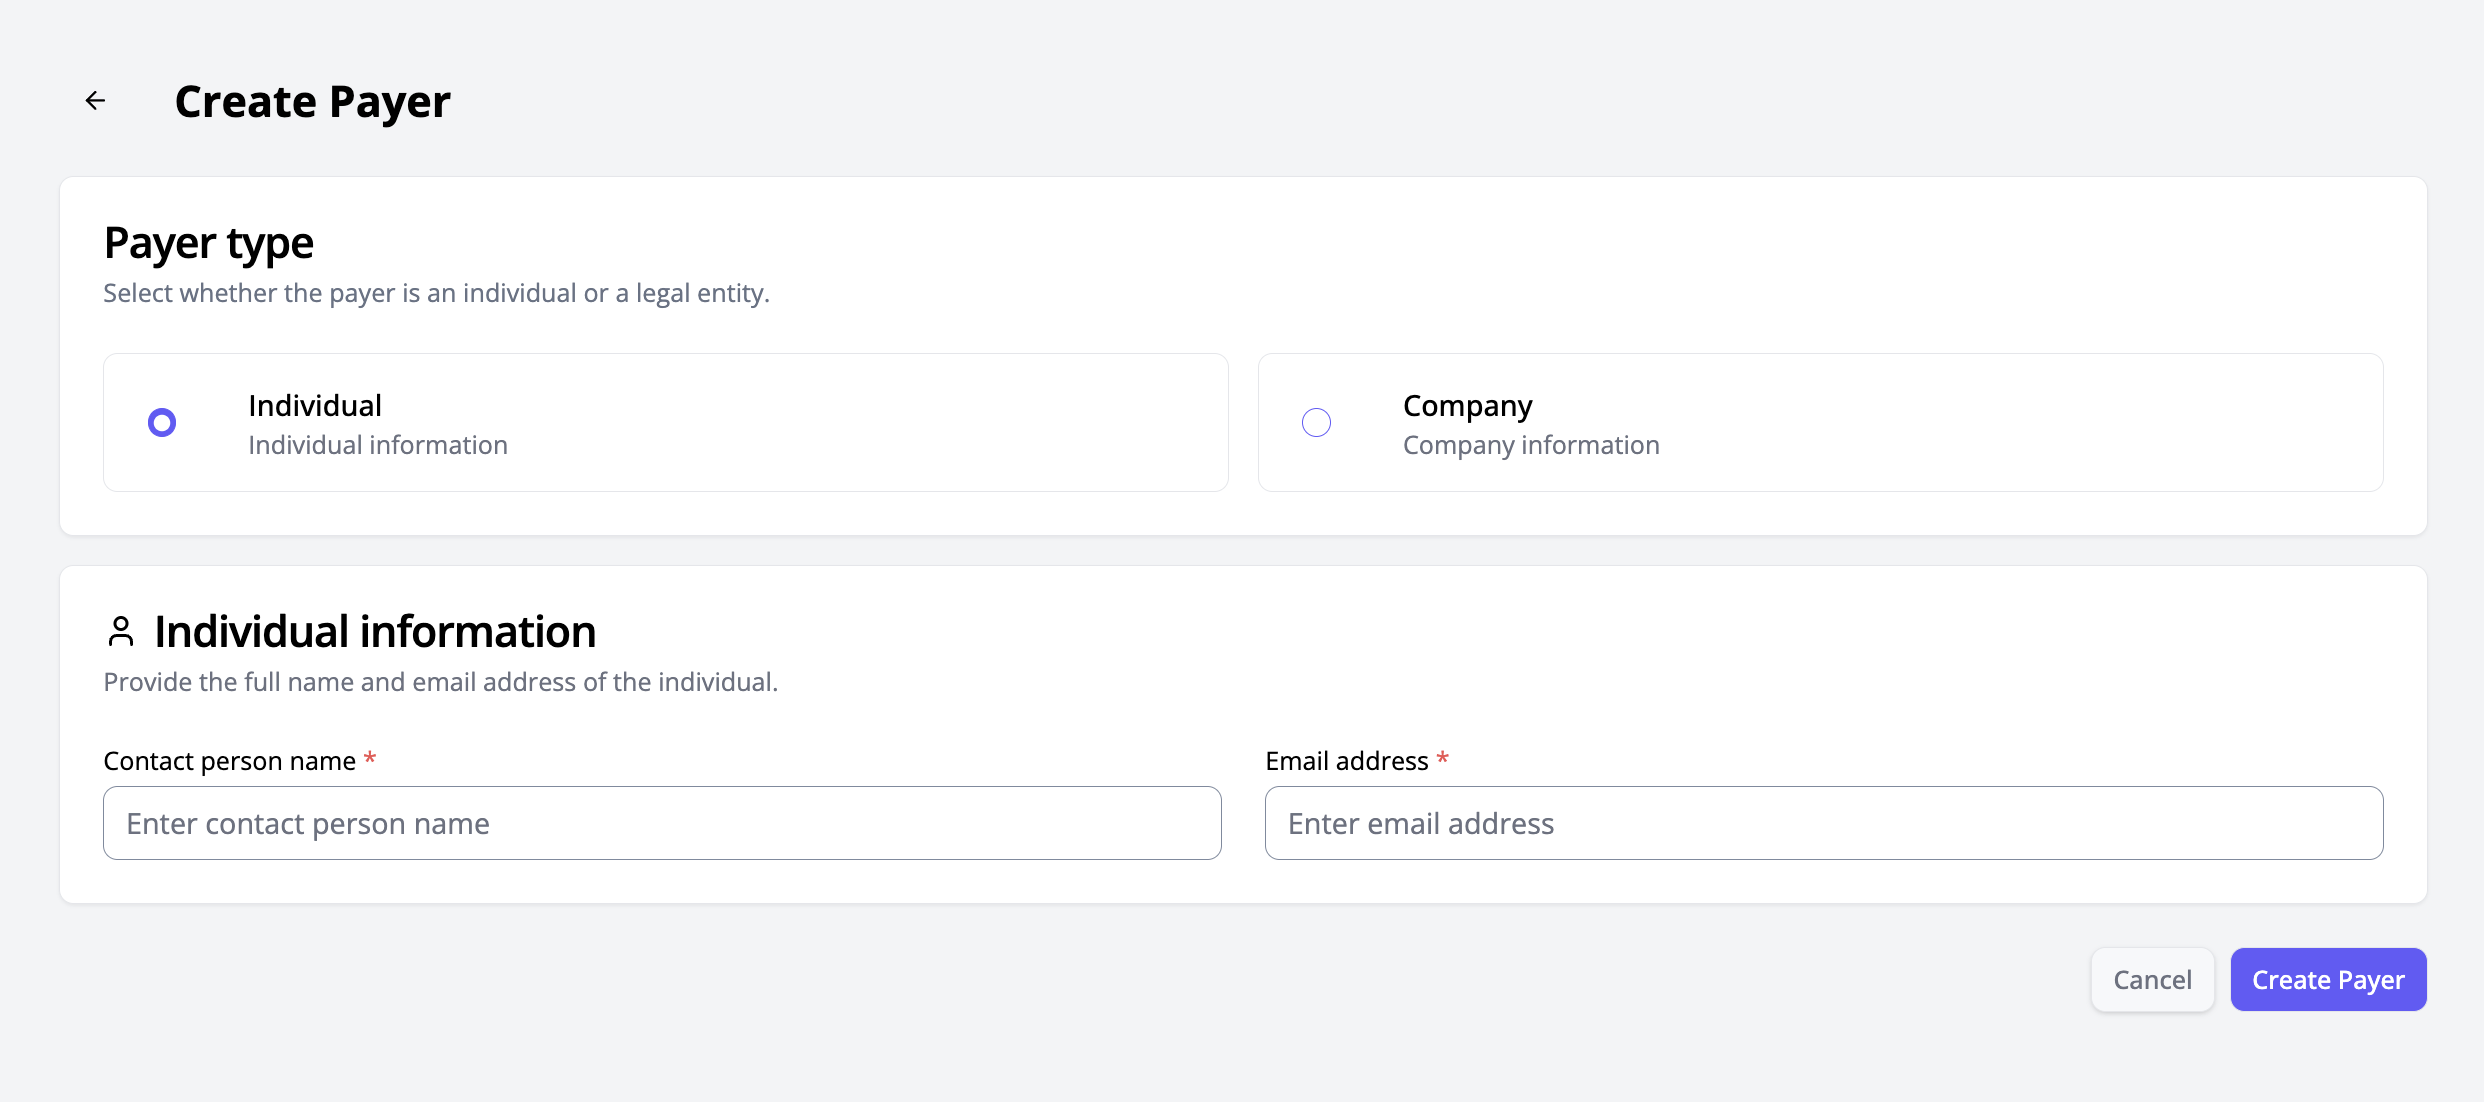
To create a payer as an individual, provide:
- Contact person’s name.
- Contact person’s email.
Company
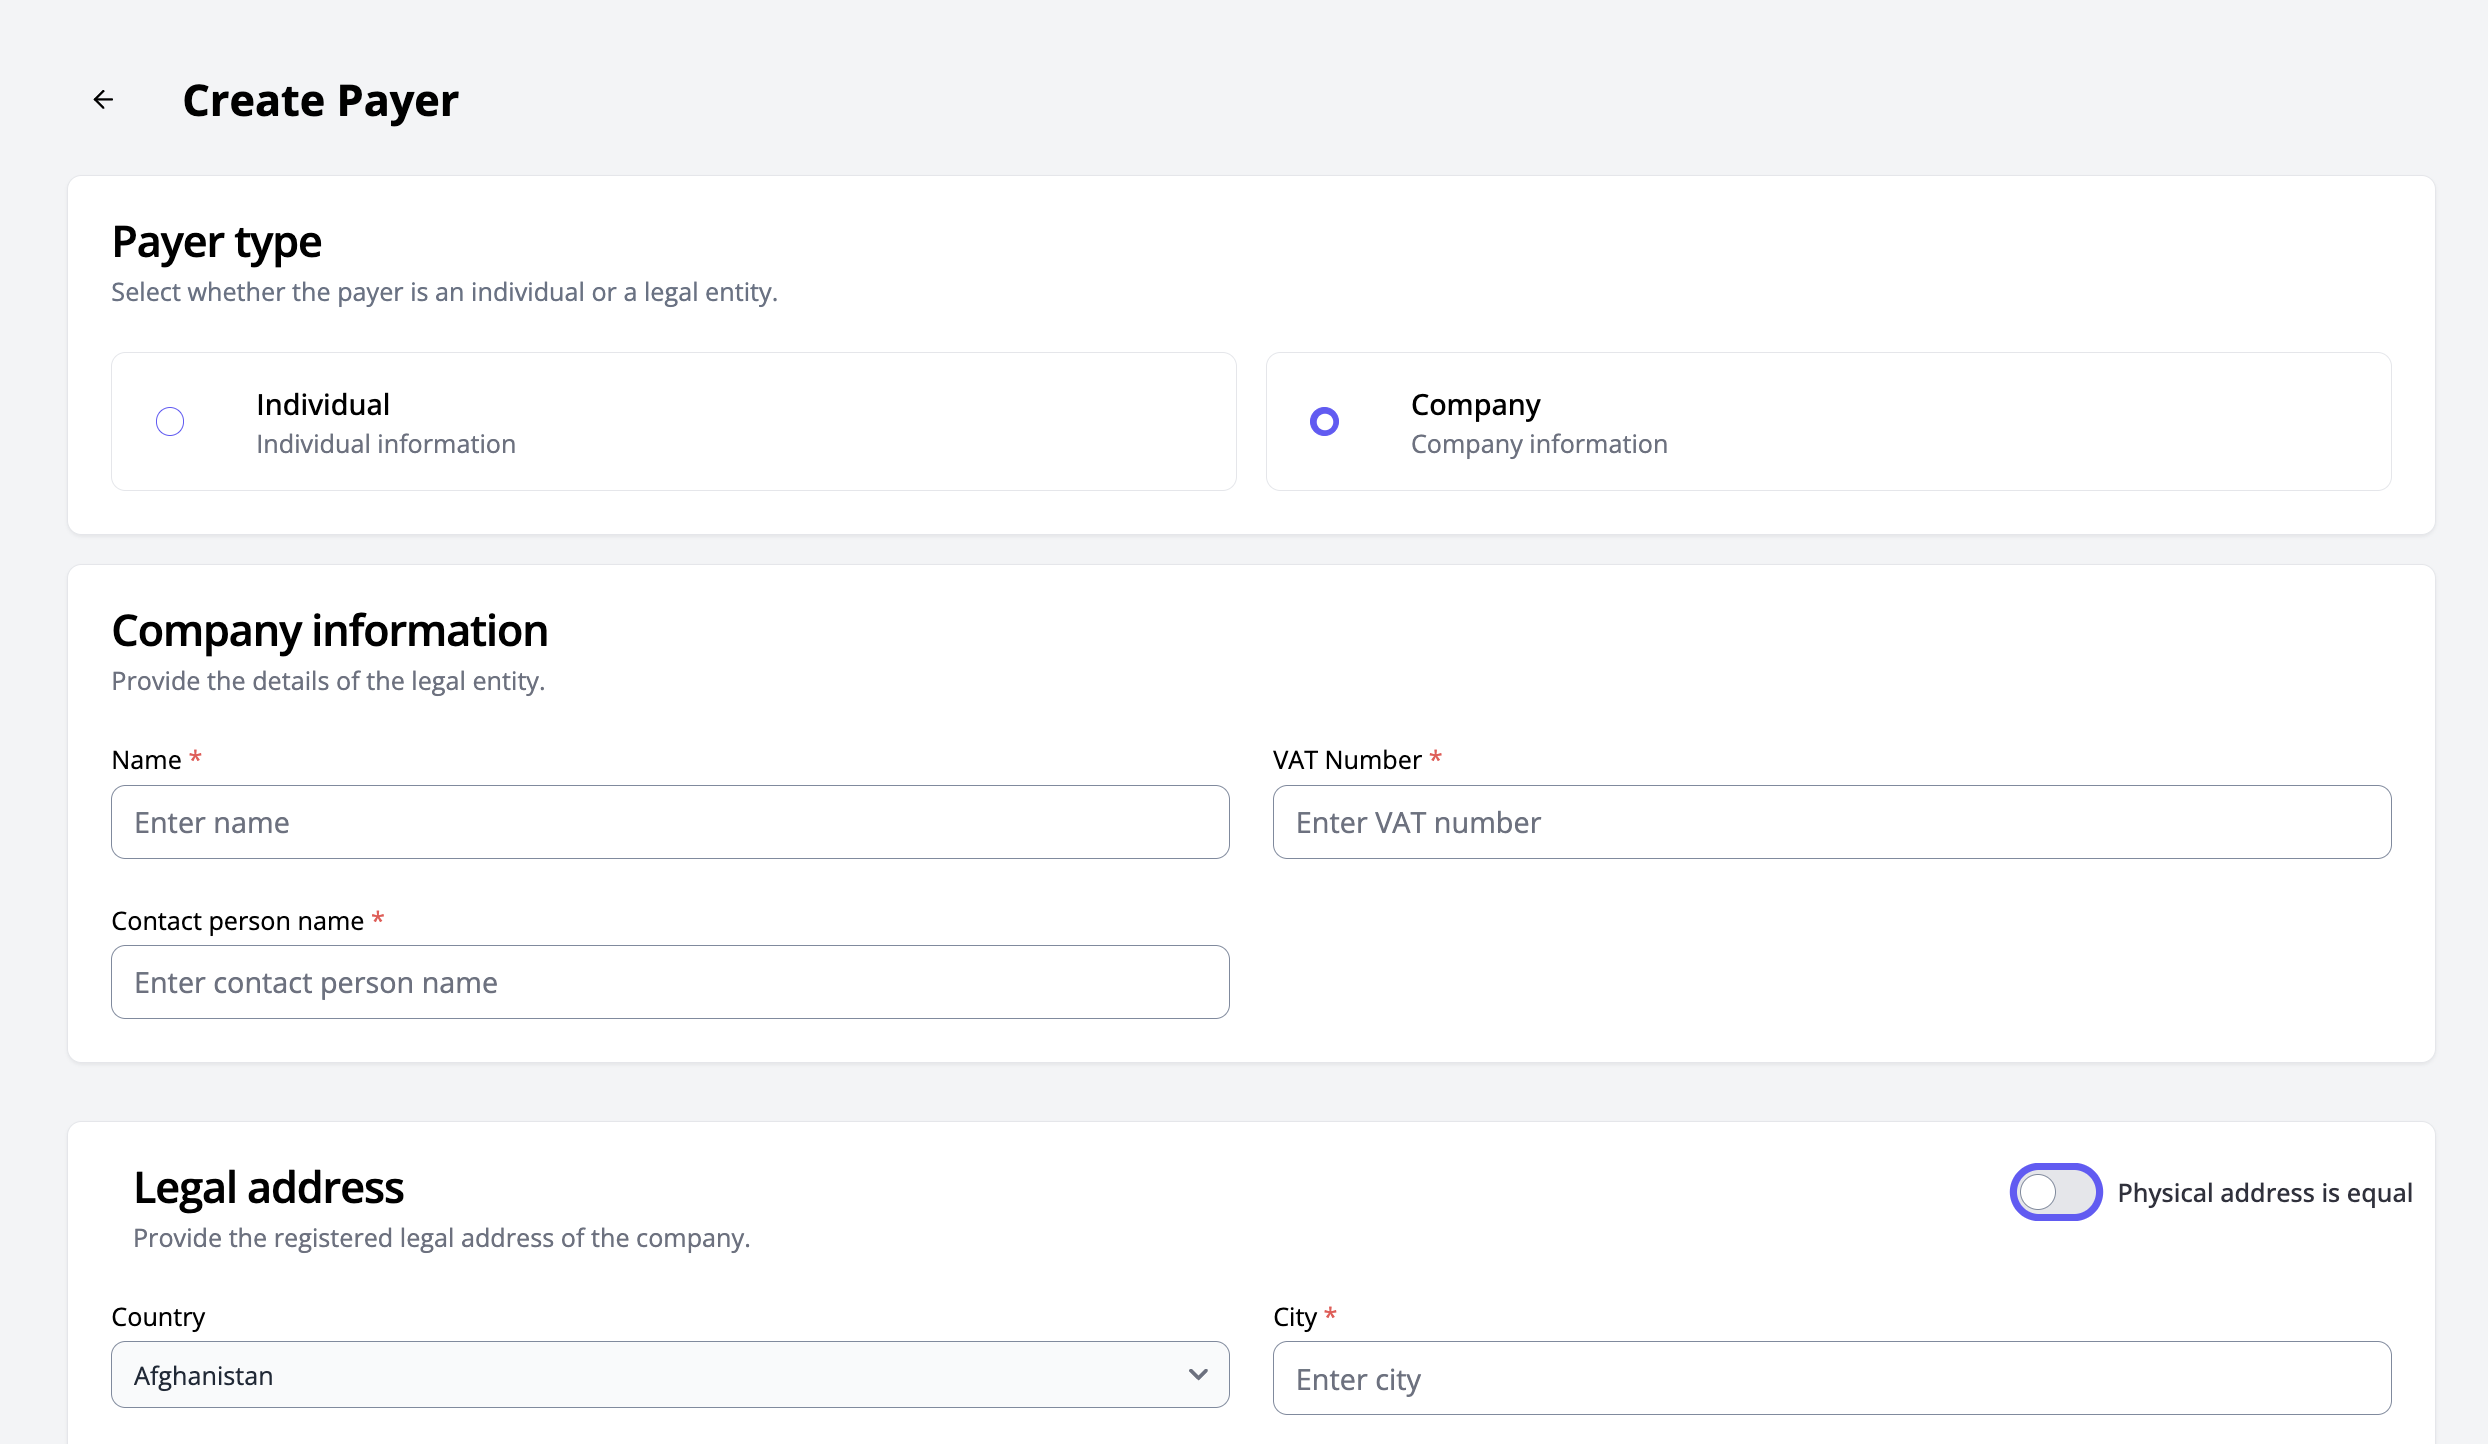
To create a payer as a legal entity, provide:
- Company name
- Contact person’s name
- Contact person’s email
- Taxpayer ID (INN) or VAT number
You must also provide details for both legal and physical addresses:
Required fields for each address:
- Country
- Region (available for the USA, Italy, Australia)
- City
- Address
If the physical address matches the legal address, check the corresponding box, and the fields will be automatically filled.
After creation:
The payer will be created with an “Active” status.
Editing a Payer
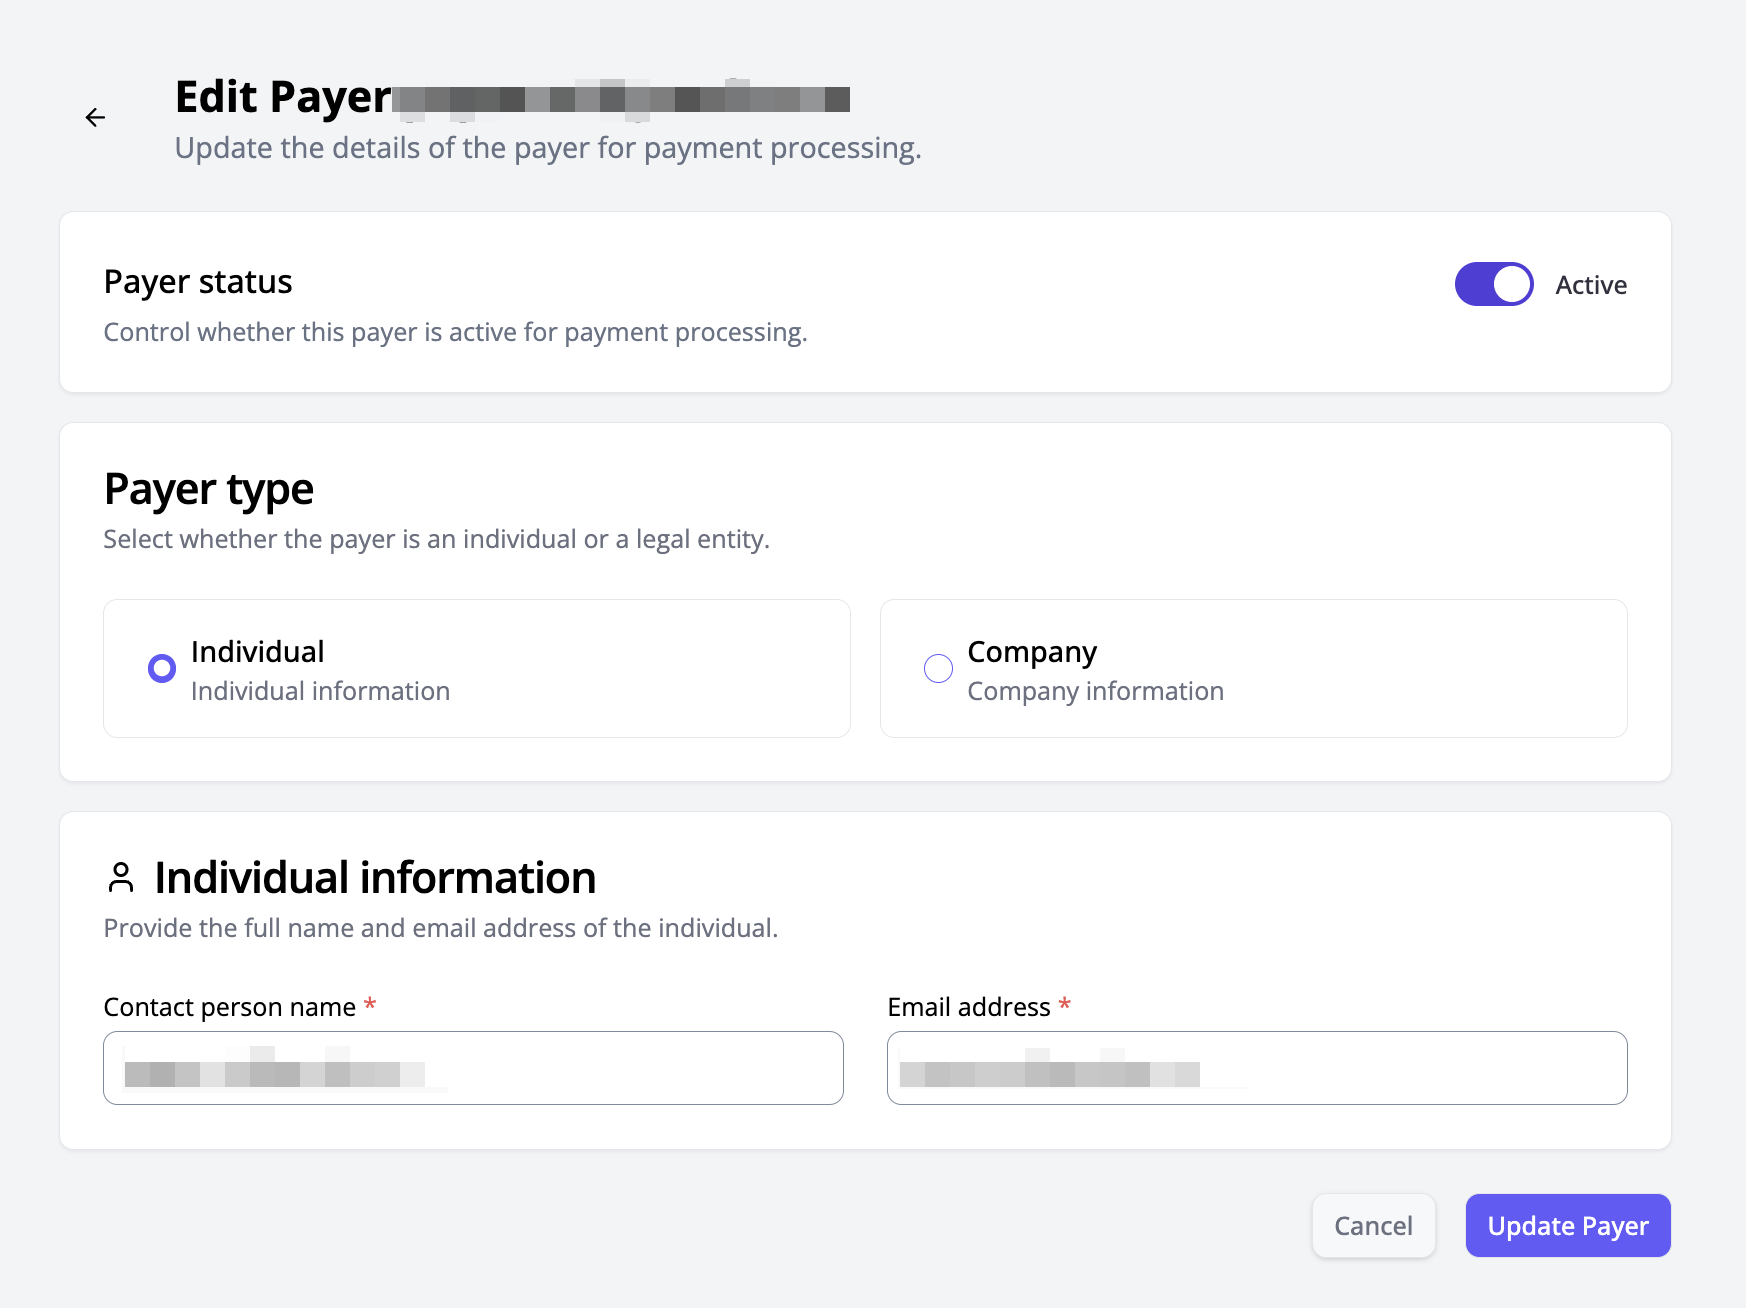
To edit a payer:
- Select the payer from the list
- A form similar to the creation form will open, pre-filled with the payer’s details
- Make the necessary changes, including the payer’s activity status
Note: Deactivating a payer (unchecking the activity box) disables all associated payment methods. These methods will no longer be used for automatic renewals, top-ups, or selection when ordering new servers or services.