Users
Server panel manager allows you to create new additional users and manipulate them and their permissions.
Create new users
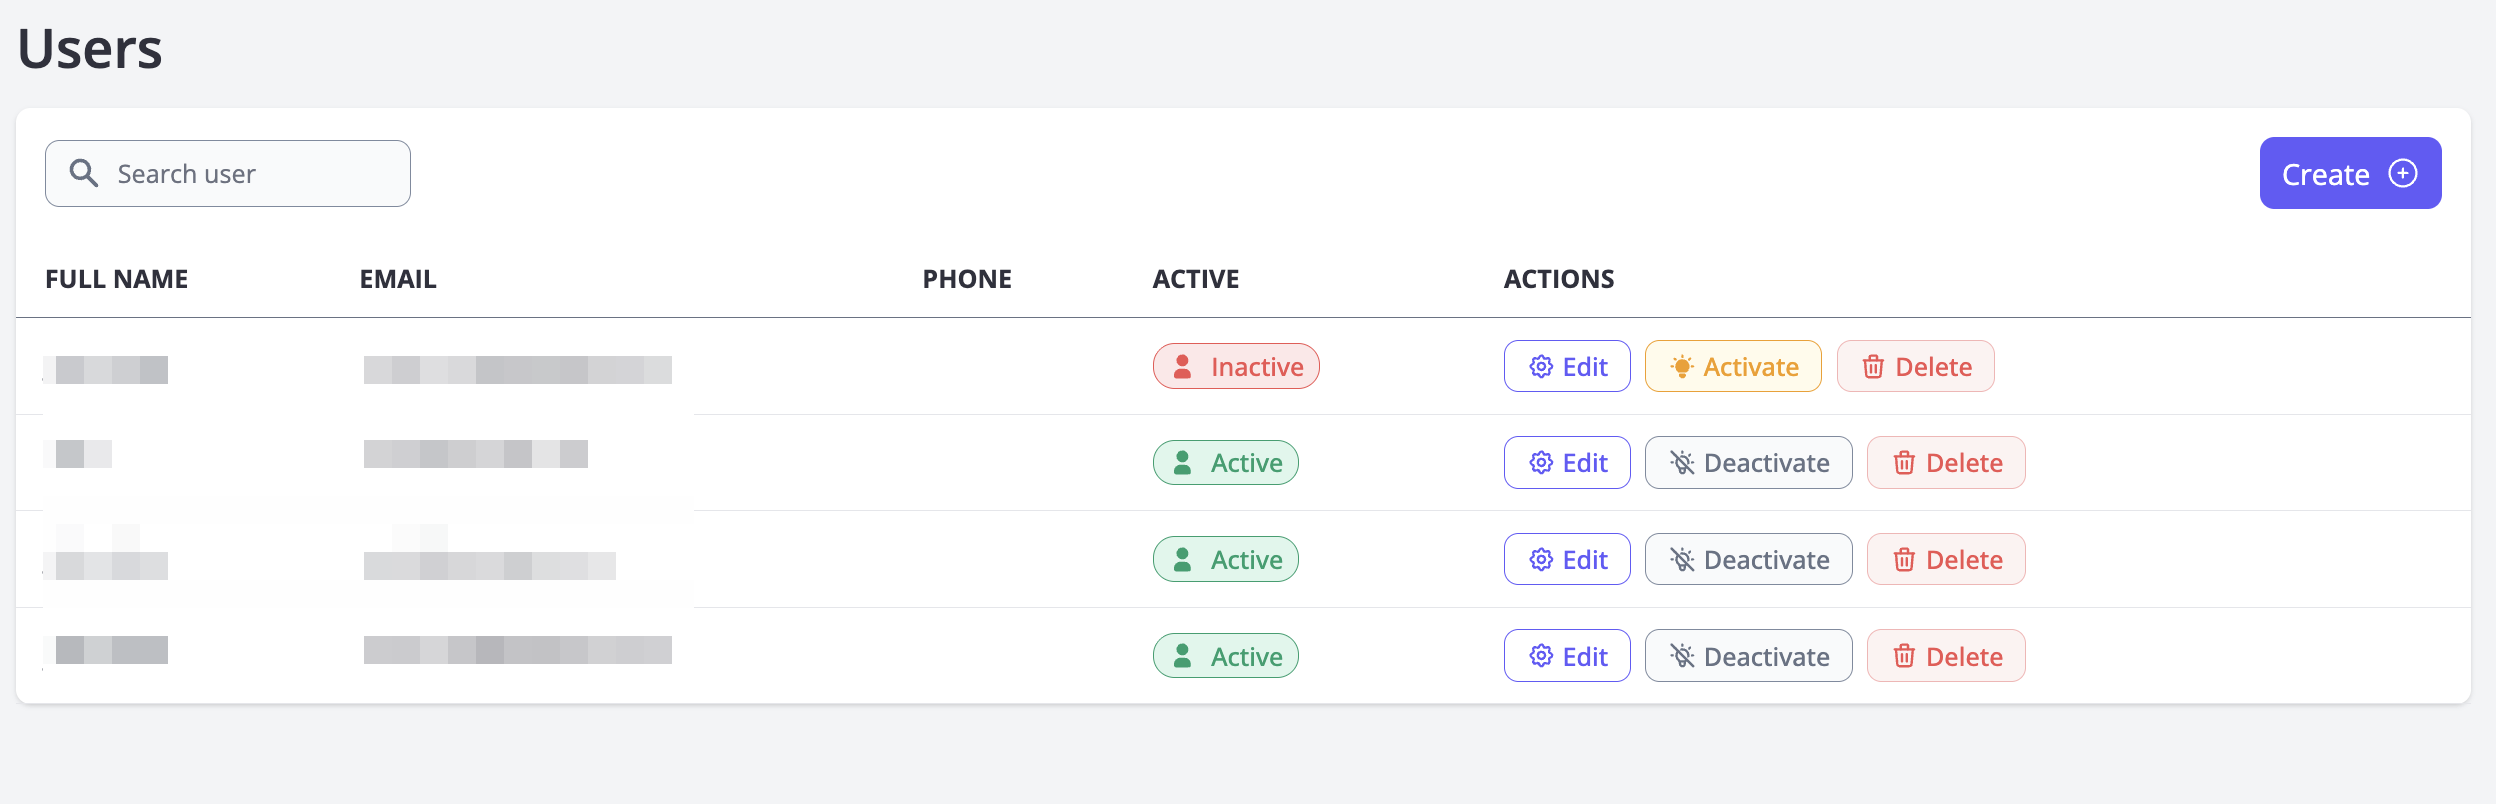
To create a new user, log in to the panel using your main account (the first user created). Navigate to the Users section, then click the "Create" button.
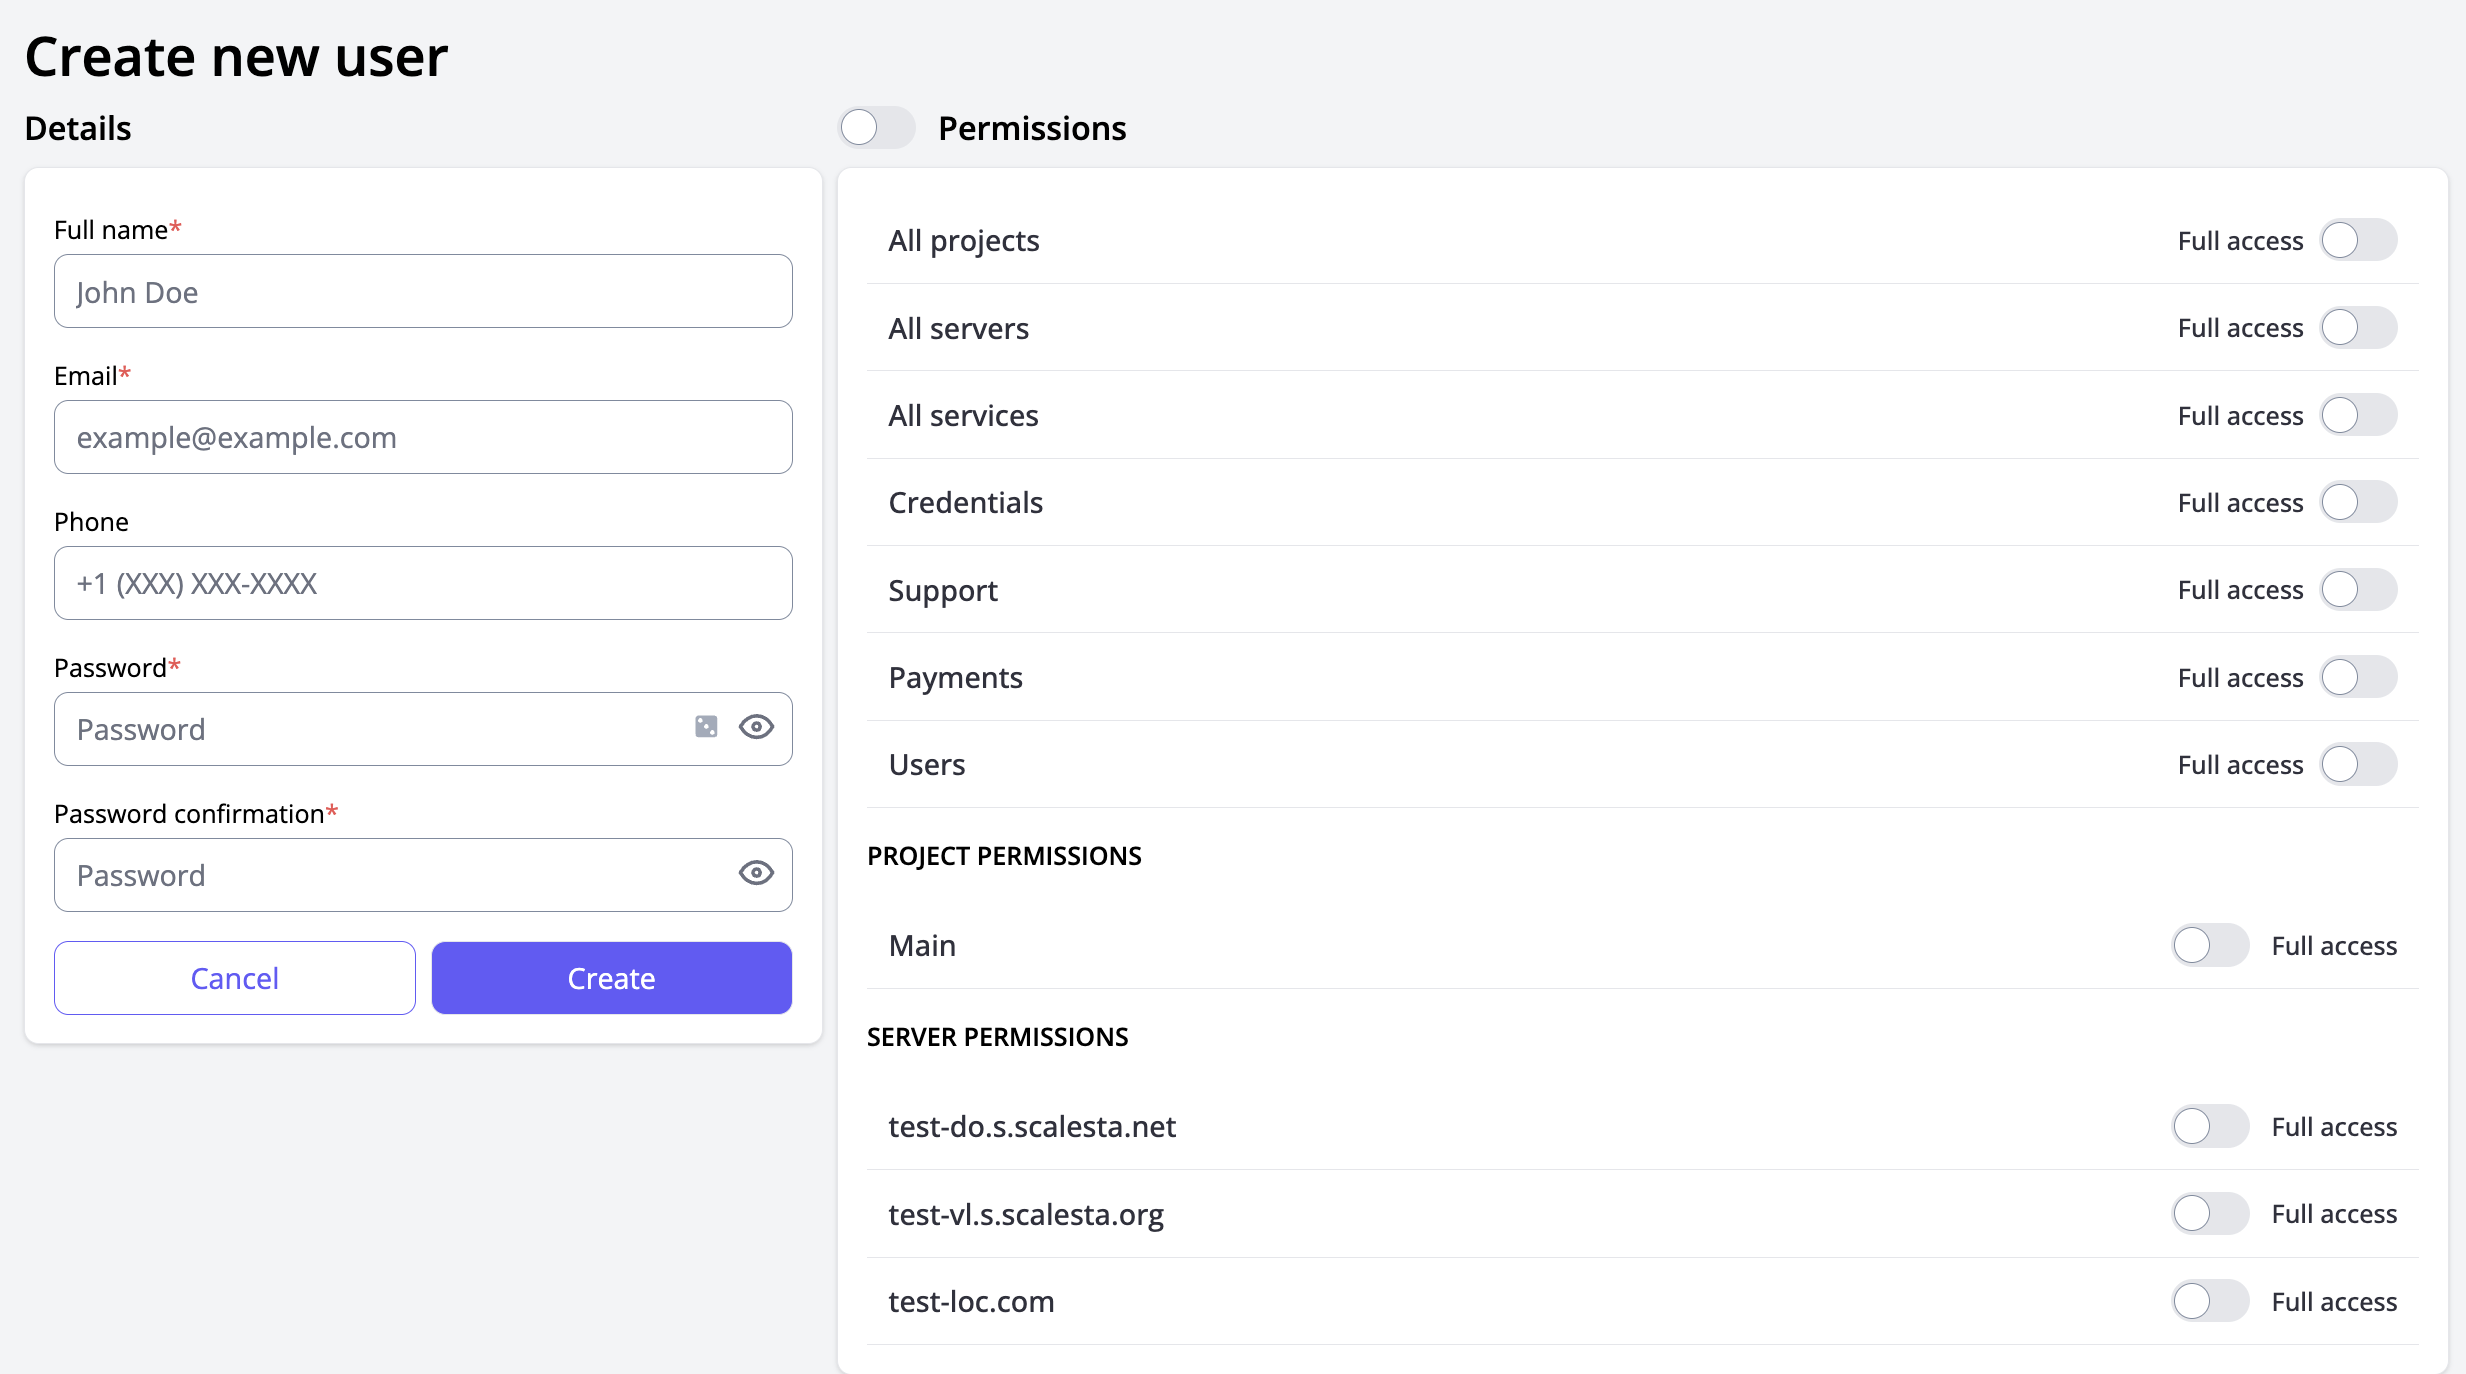
After that, you will see the user creation form. The full name, email, and password are required. The password must be at least 8 characters long, including two uppercase letters and two numbers. Permissions are optional and disabled by default. To create a user with full access, toggle the switch on the right side.
Hint
Be cautious, as full access users can create new users and grant them full access to your server settings.
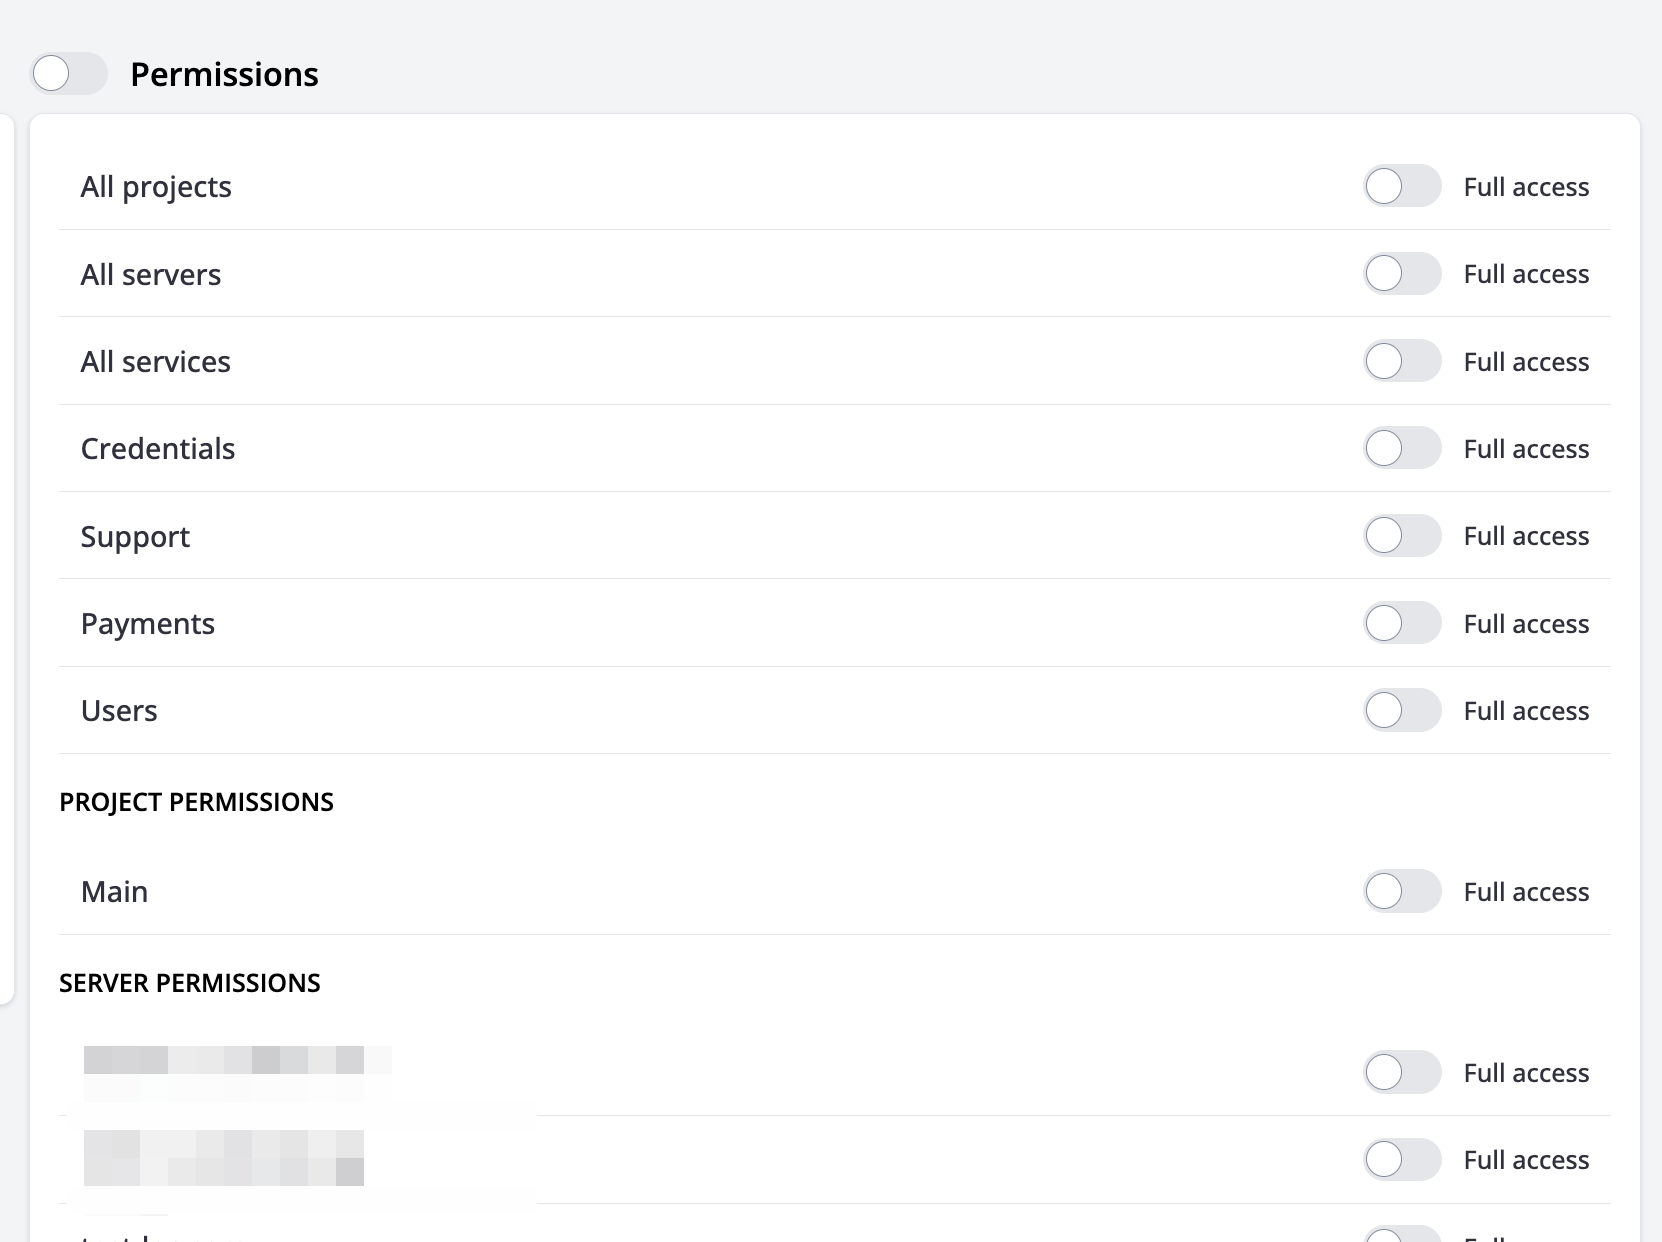
Permissions
Permissions are logically divided into sections that you can manage in the Server Panel Manager. Here are some important details about how permissions work:
- Projects and servers are bound entities. If you grant a user full permissions for projects, it will automatically enable full permissions for servers, since servers are the only entities you can manage with projects.
- If you want to grant full permissions for server management, project list and project edit permissions will be automatically enabled as well, for the reasons mentioned above. Permissions related to transferring or deleting won't be affected.
- Services have only one permission: the ability to view the full list of services.
- Credentials, Support, and Users behave similarly. Each of these entities has an author. There are three different permissions for each of them:
- View the full list of entities (credentials, tickets, and users).
- Create their own entities (credentials, tickets, and users). If this permission is enabled, the user will only be able to manage their own entities, unless the previous permission is disabled.
- Edit other users' entities.
- Payments have permissions for viewing the list of payments and creating new orders.
You can change permissions for specific servers and groups of servers (projects). This option is only available when full project/server permissions are disabled.
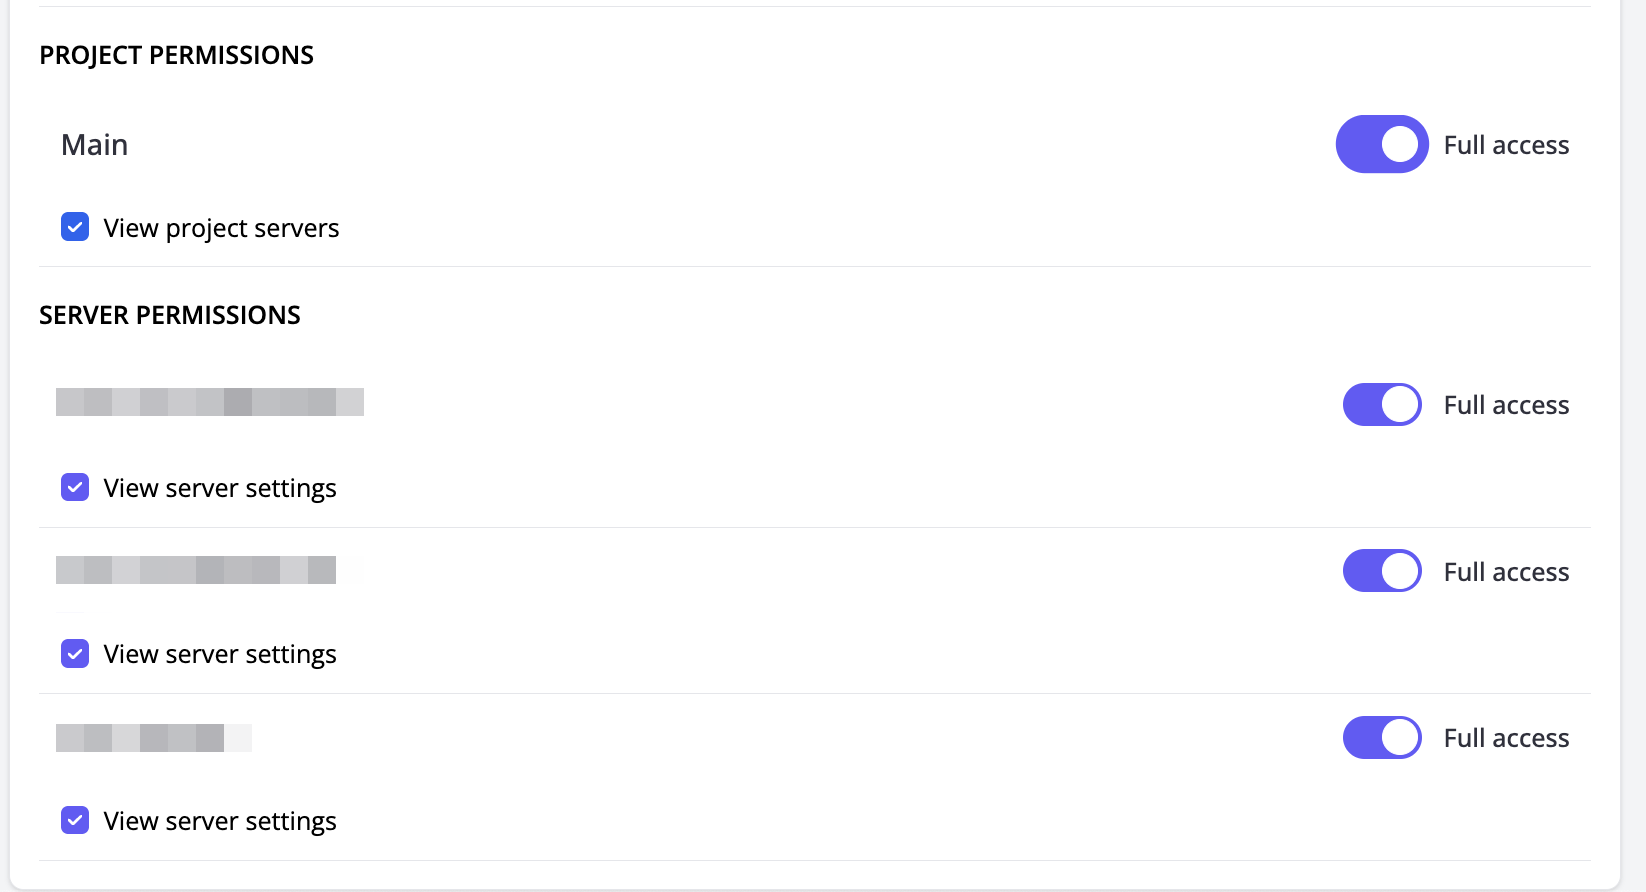
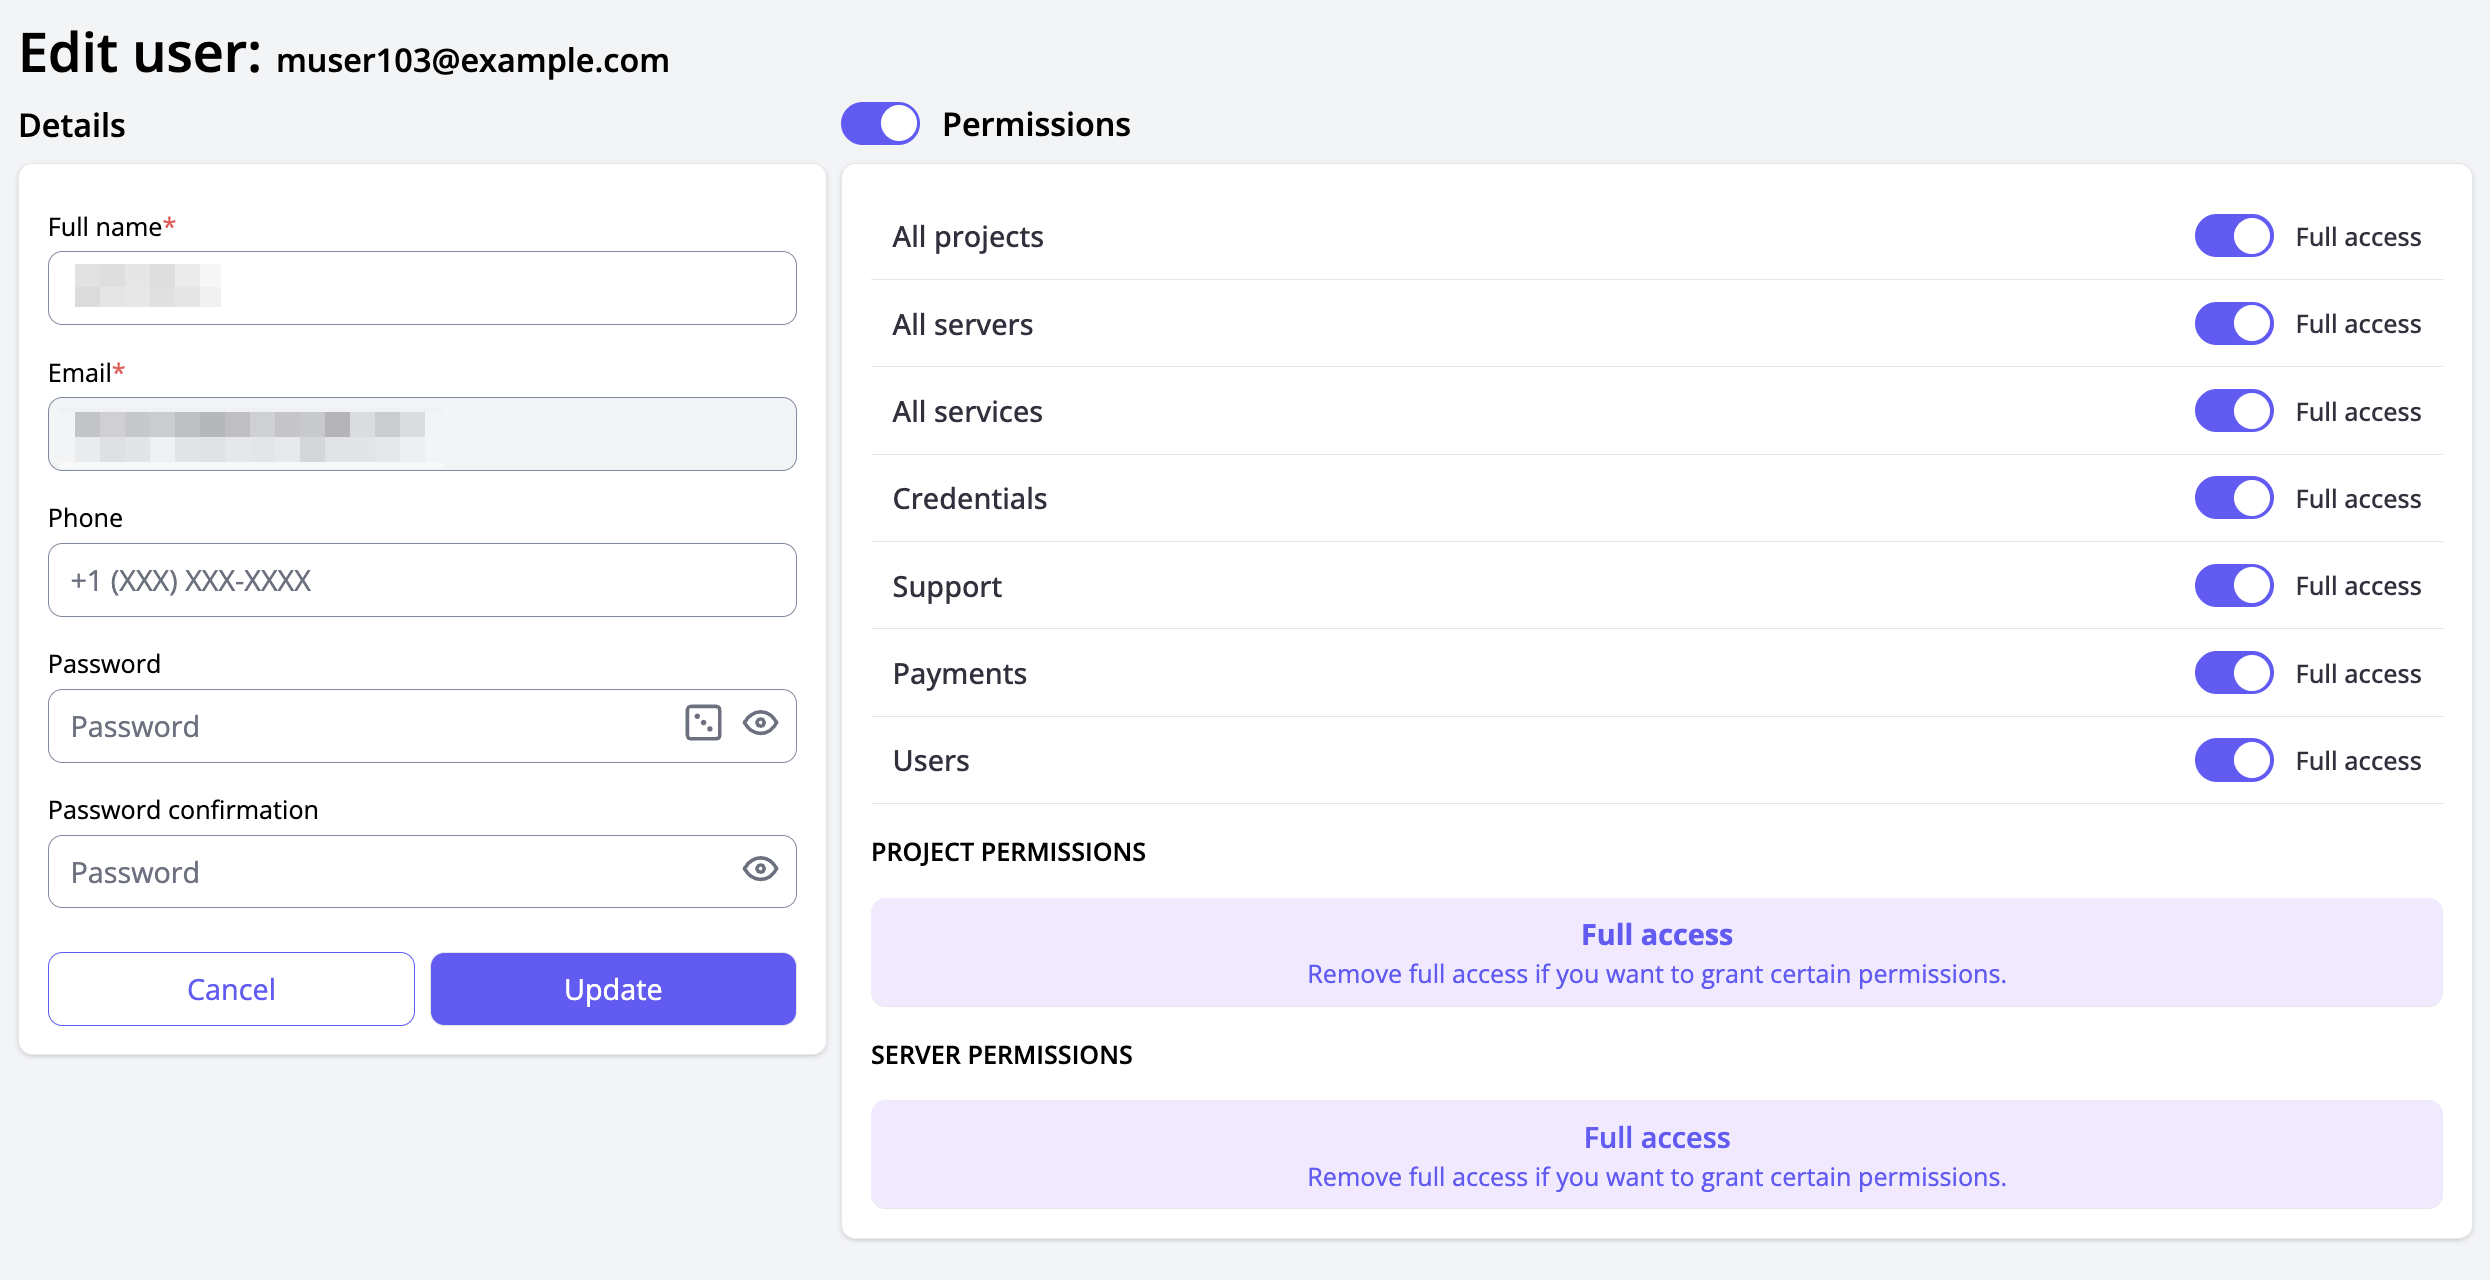
There are two types of permissions: Project permissions and Server permissions. Currently, each project has only one permission: to update all servers within the project.
If you grant permissions for a project, the associated servers will be automatically enabled as well.
This action works only in one direction. When you disable full project permissions, you need to manually disable certain server permissions as well, since those can also override the project-level setting.
Server permissions work the same way but offer more flexibility—you can manage each server's permissions independently of projects. Currently, each server has only one available permission: the ability to update all sections of the server.
Update user information
You can update the information of your additional users.
To edit a user, click the "Edit" button in the user list.
If you want to edit the main user's information, click the profile icon in the top-right corner of the screen, then click the "Settings" button.
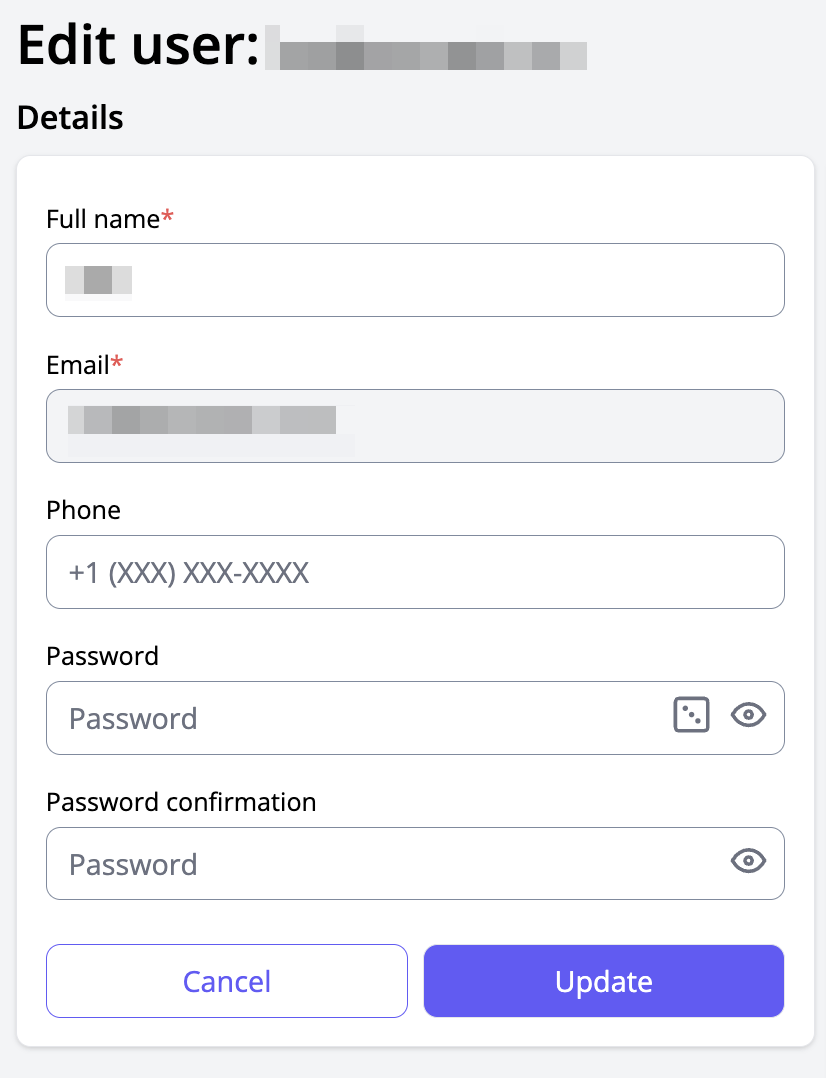
You’ll see a form for updating your information. The email field cannot be changed. Updating the full name and password is available to all users with the appropriate permissions, but only the account owner (main user) can edit permissions.
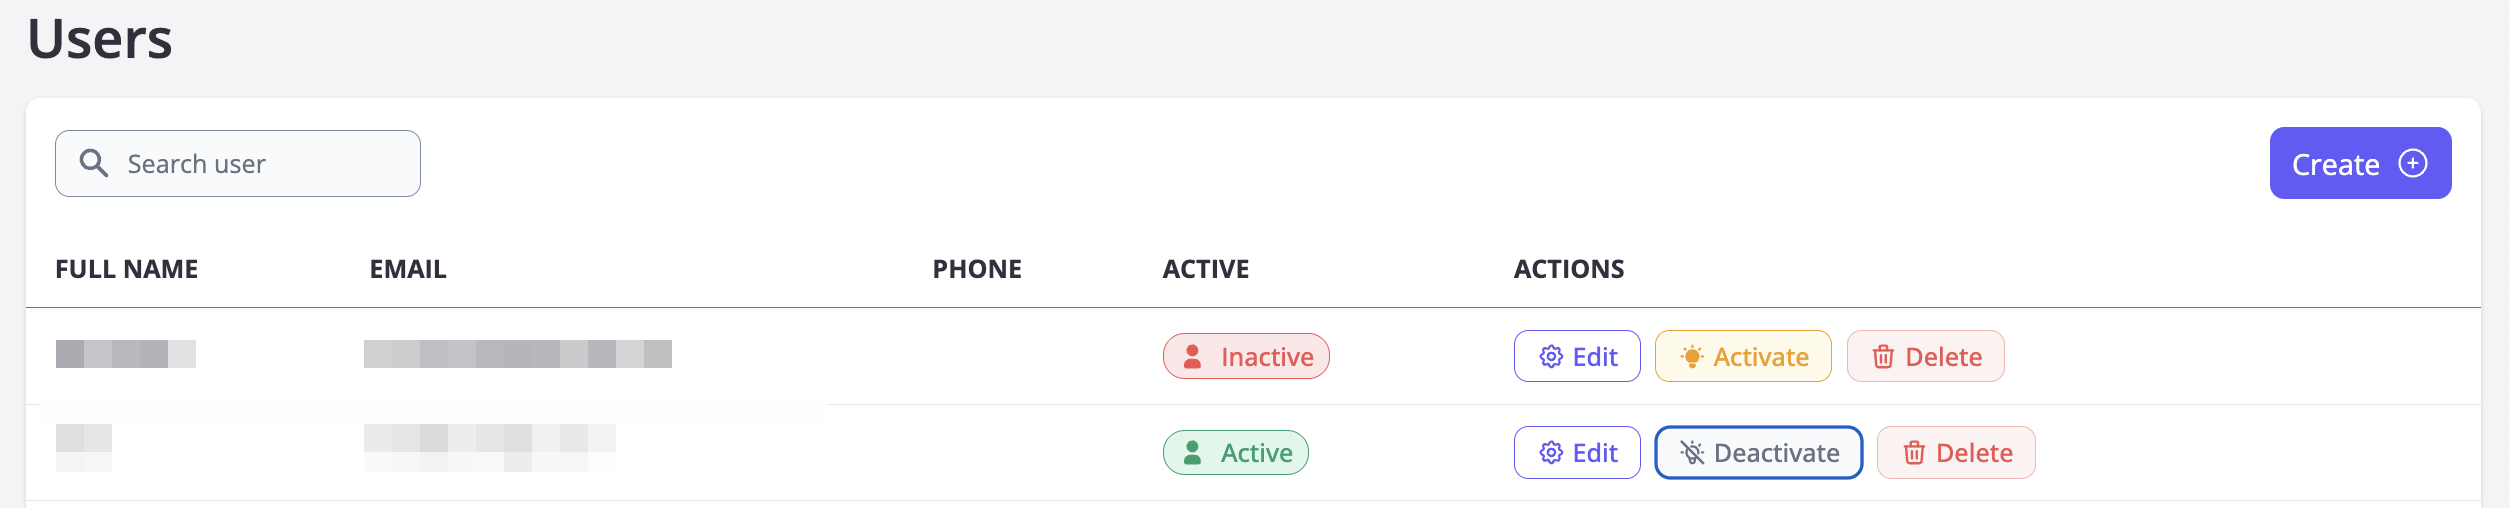
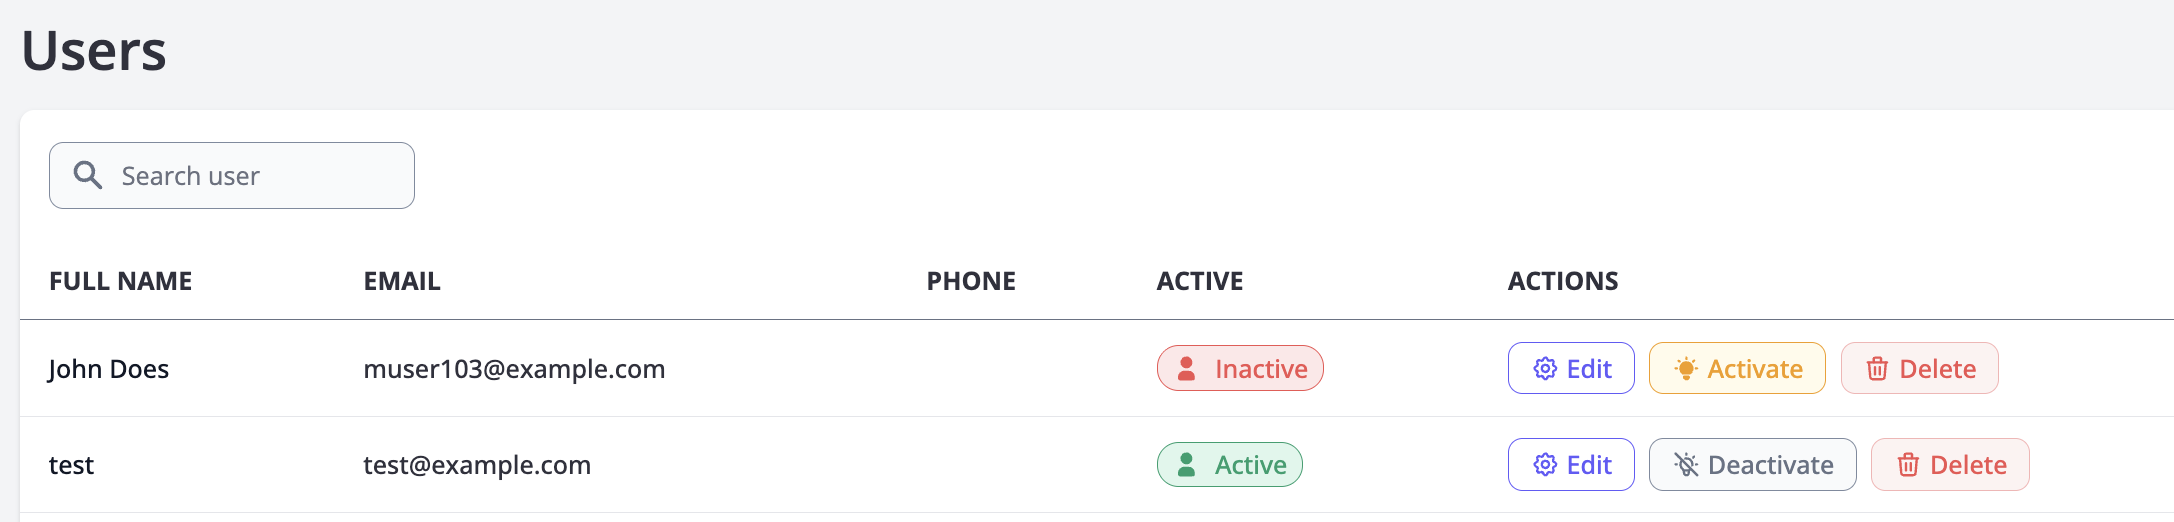
Activating and deactivating users
You can temporarily disable users without deleting them. To do this, click the "Deactivate" button in the user list.
After a user is deactivated, you will see a notification confirming the action.
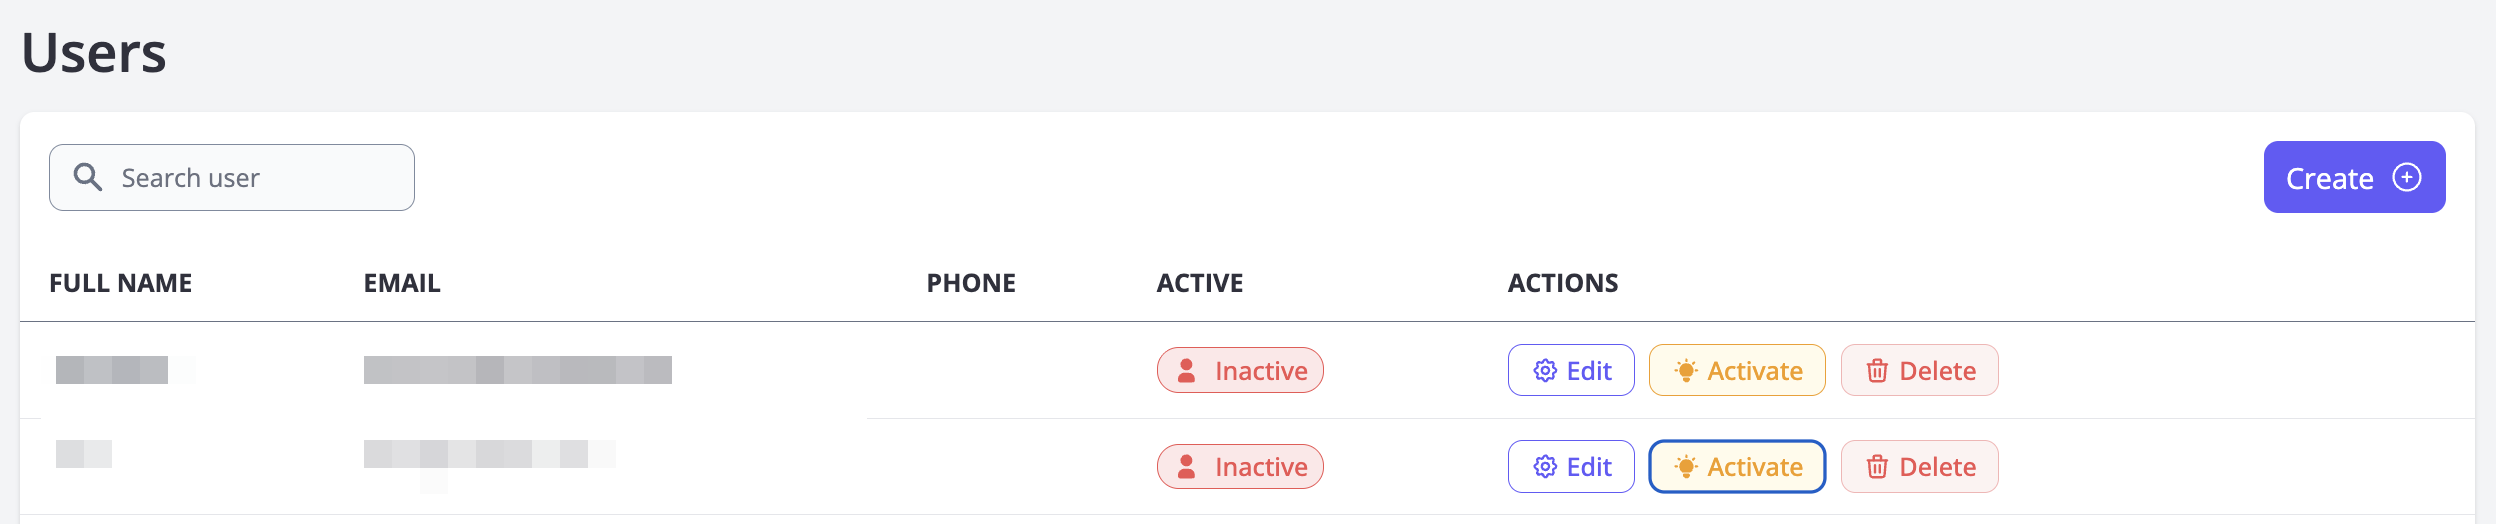
Enabling a user works the same way. Click the "Activate" button — the user's status will be updated, and you’ll see a confirmation notification.
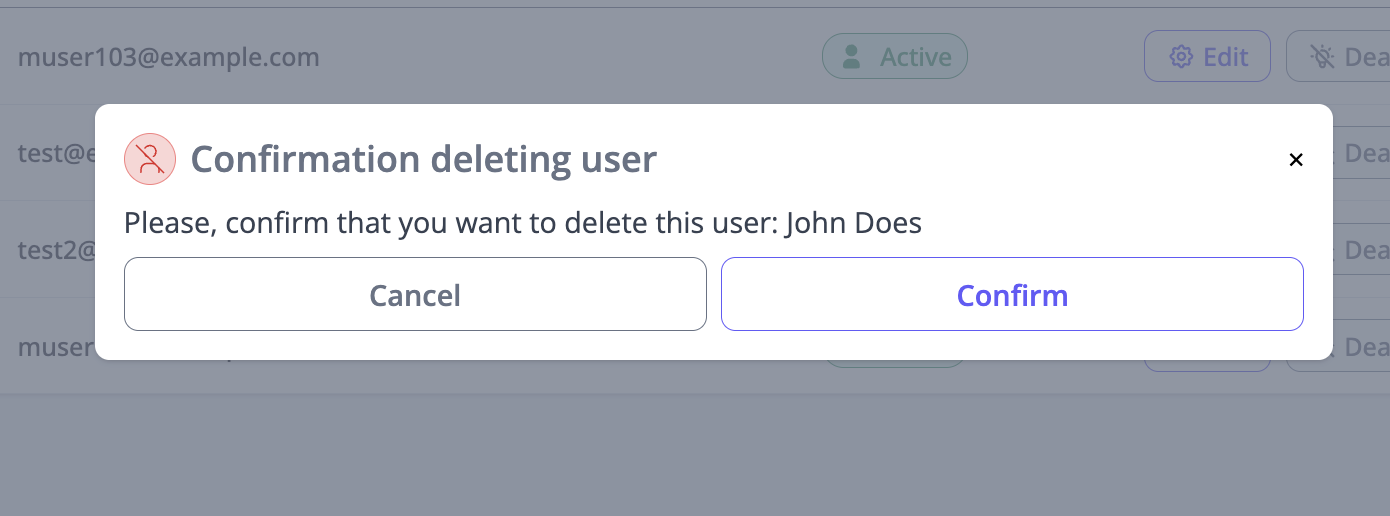
User deletion
To delete a user, click the "Delete" button and confirm the action.