Yandex.Mail for domain (360)
Overview
Email service for business by Yandex.com
Key features:
- Free email service for your domain;
- User management, up to 1000 users and mailboxes;
- Access to mail through the web interface;
- Access to mail through any application from mobile devices or computer;
- Reliable anti-spam;
- DKIM digital signature
For more details and registration, please refer to Yandex 360 for Business
Setting up Yandex.Mail
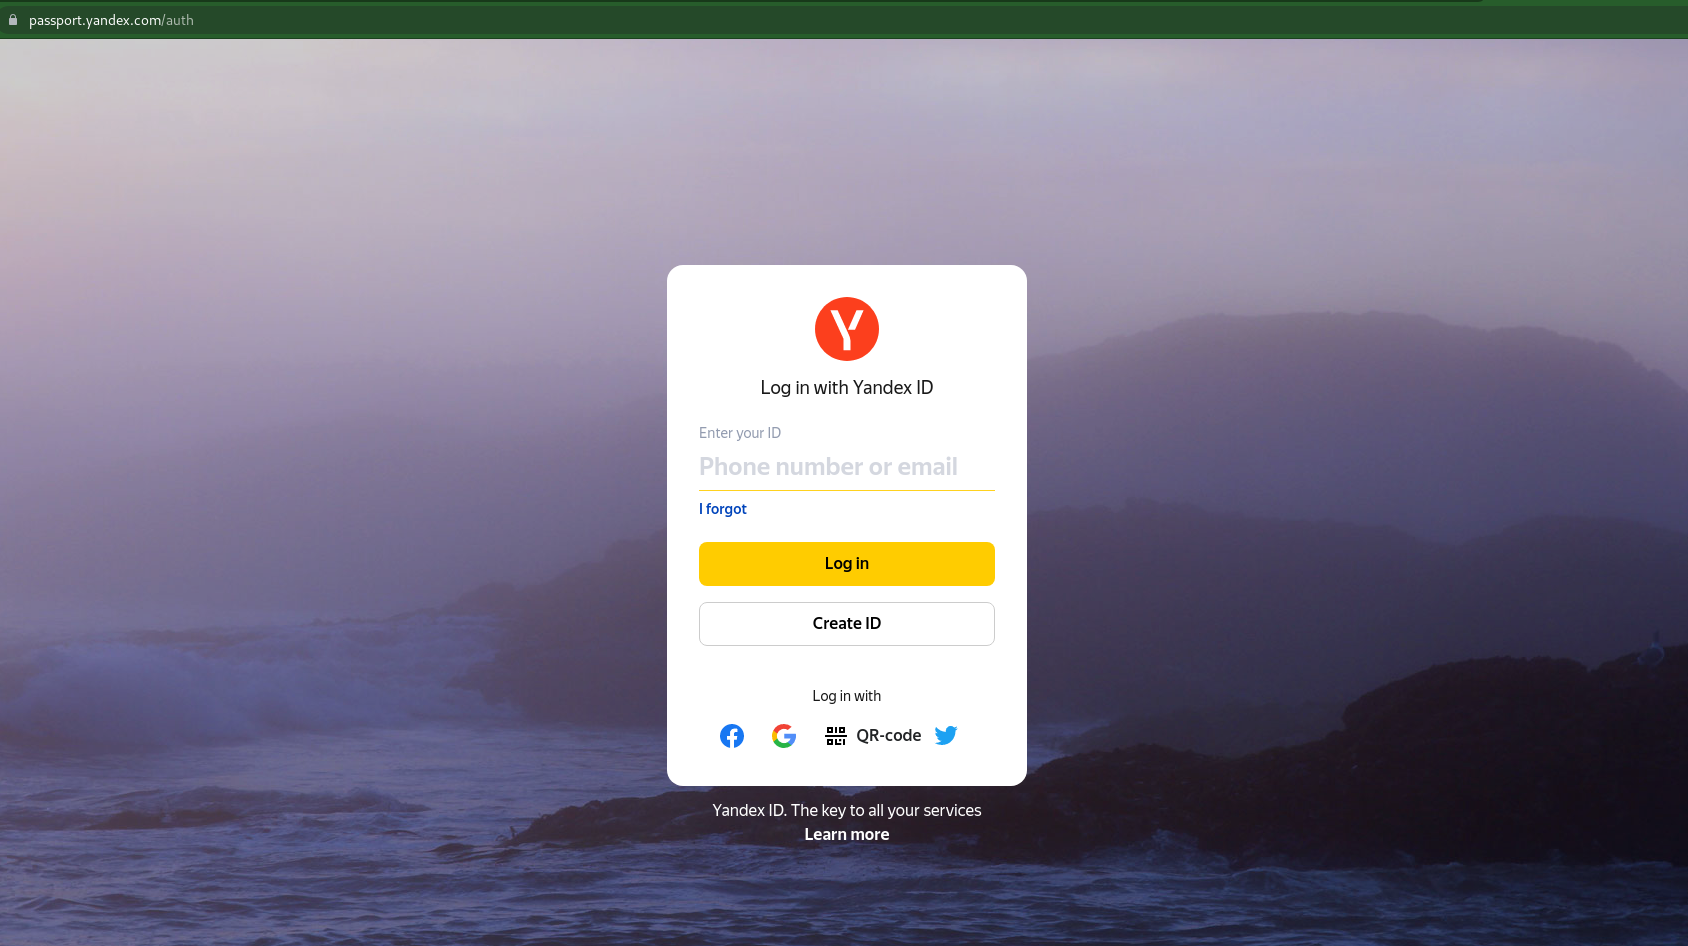
- Login to Yandex.Mail (if you have one) or create new account. Use Facebook or Google login to do it quicker.
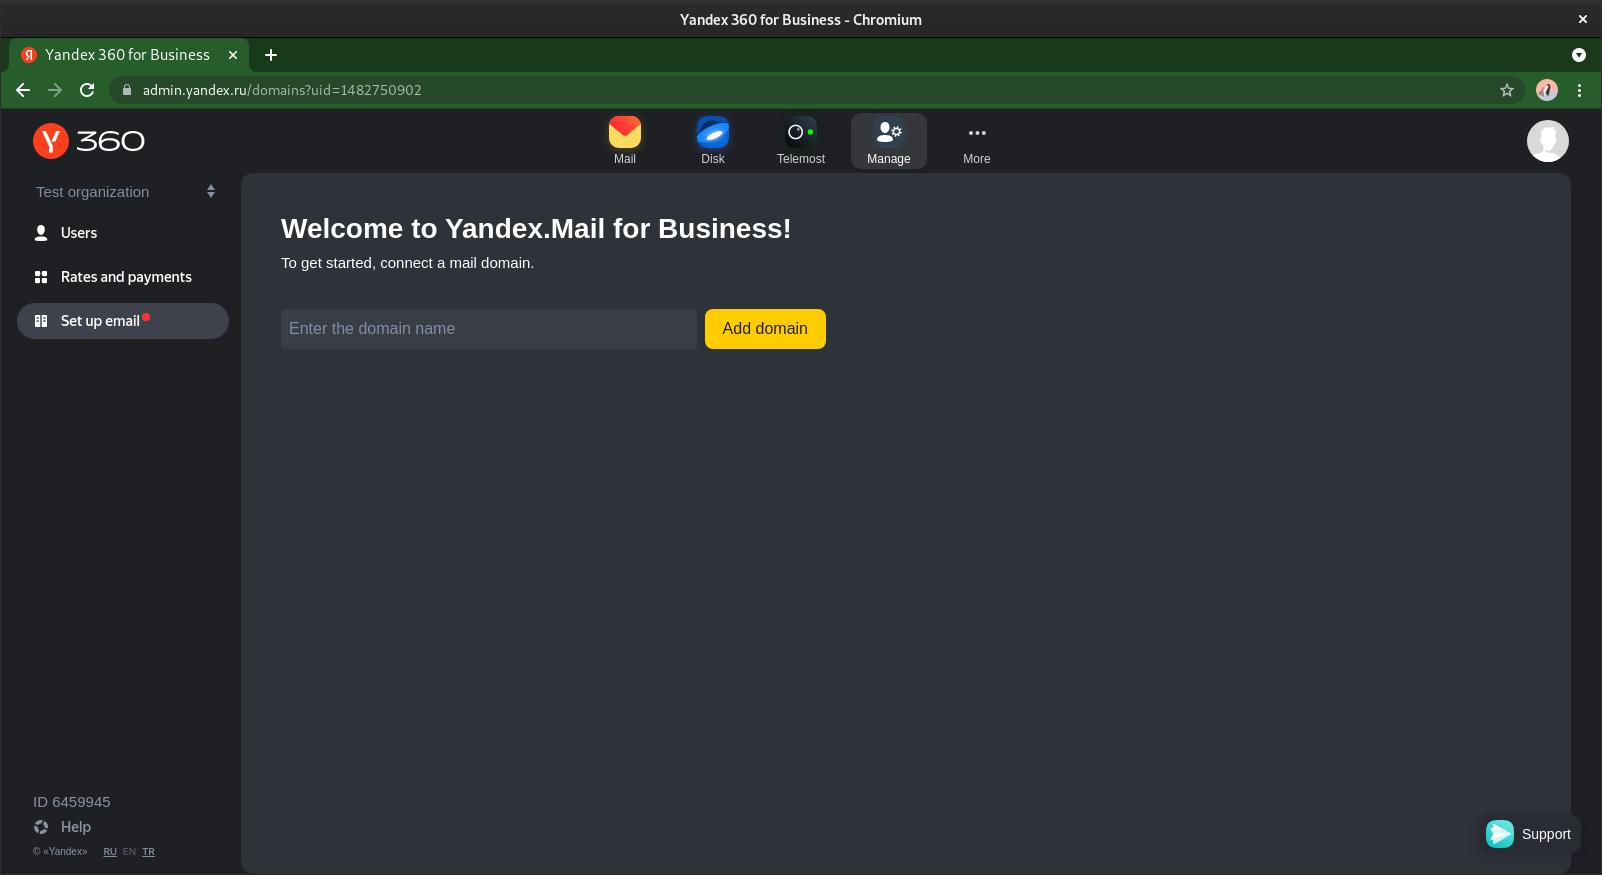
- Go to Yandex360 with your yandex account and create organization
- Navigate to Domains and add your organization domain
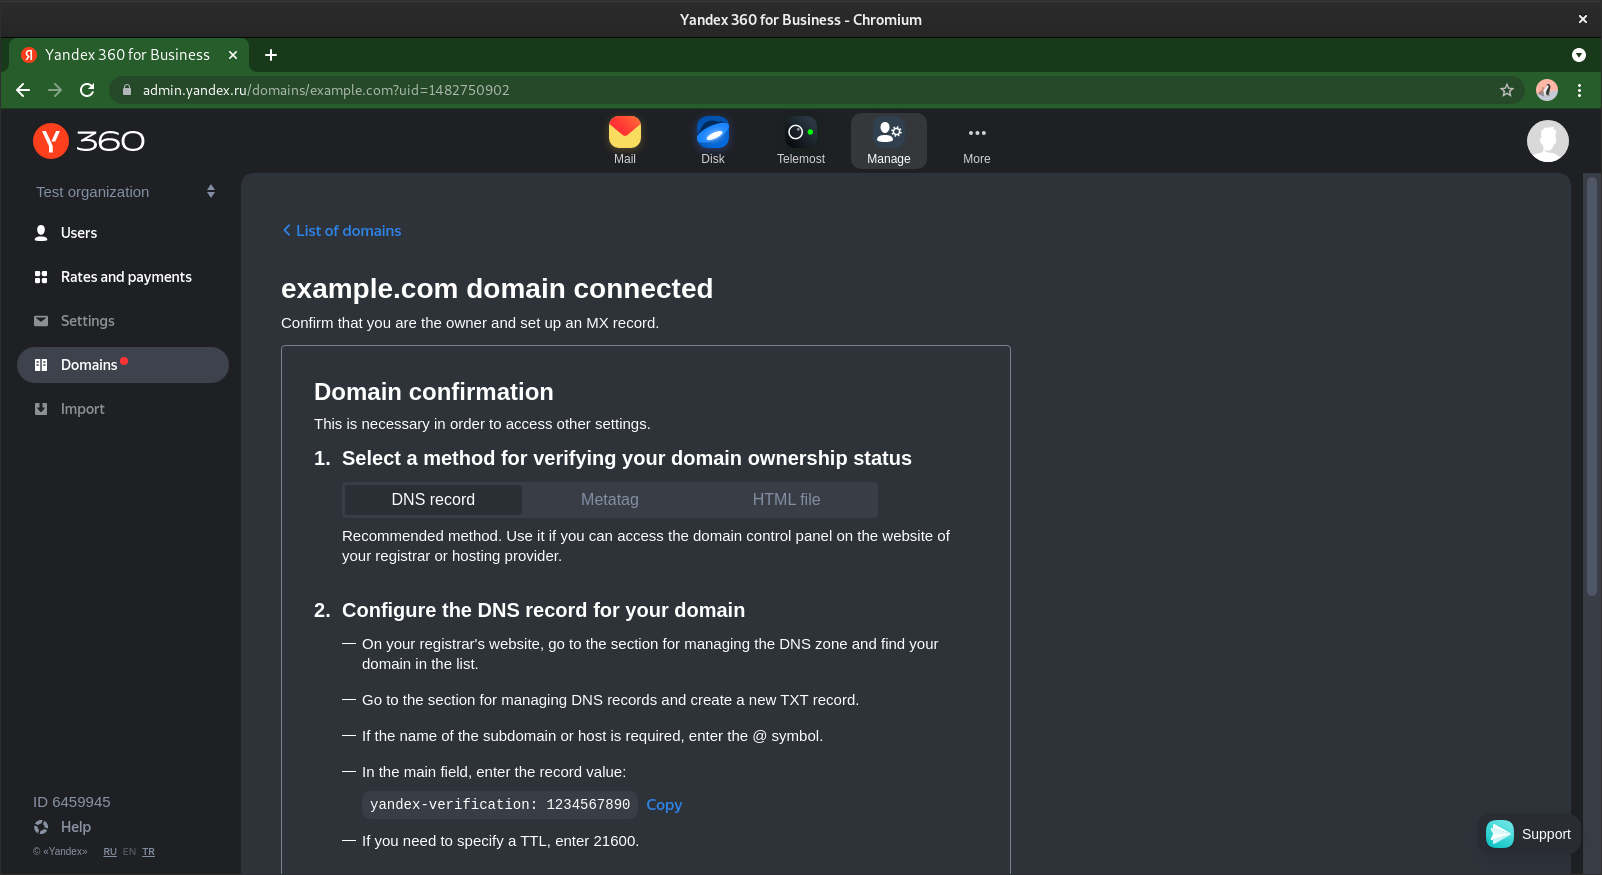
- Select a method for verifying your domain ownership status
DNS record is the best solution.
-
Configure the DNS record for your domain
- On your registrar's website, go to the section for managing the DNS zone and find your domain in the list
- Go to the section for managing DNS records and create a new TXT record
- If the name of the subdomain or host is required, enter the
@symbol - In the main field, enter the record value:
yandex-verification: provided value - If you need to specify a TTL, enter
21600
-
Make sure that the domain is verified. Wait until the DNS records of your domain are updated. This may take up to 72 hours.
After verifying the domain, you can start importing mailboxes right away. But you need to configure MX records anyway. - Delete existing MX records that have been configured for your domain, if you have one.
-
Create a new MX record in the DNS records section
- Value:
mx.yandex.net.(important: server name must end with a dot) - Priority:
10(If you can not set 10, set other than zero) - Subdomain name (Host):
@(or your domain name(such as example.com), if you unable to set this, leave blank) - TTL:
21600(if you need to specify this)
- Value:
-
Configure DKIM signatures. It will help prevent your messages from being flagged as spam.
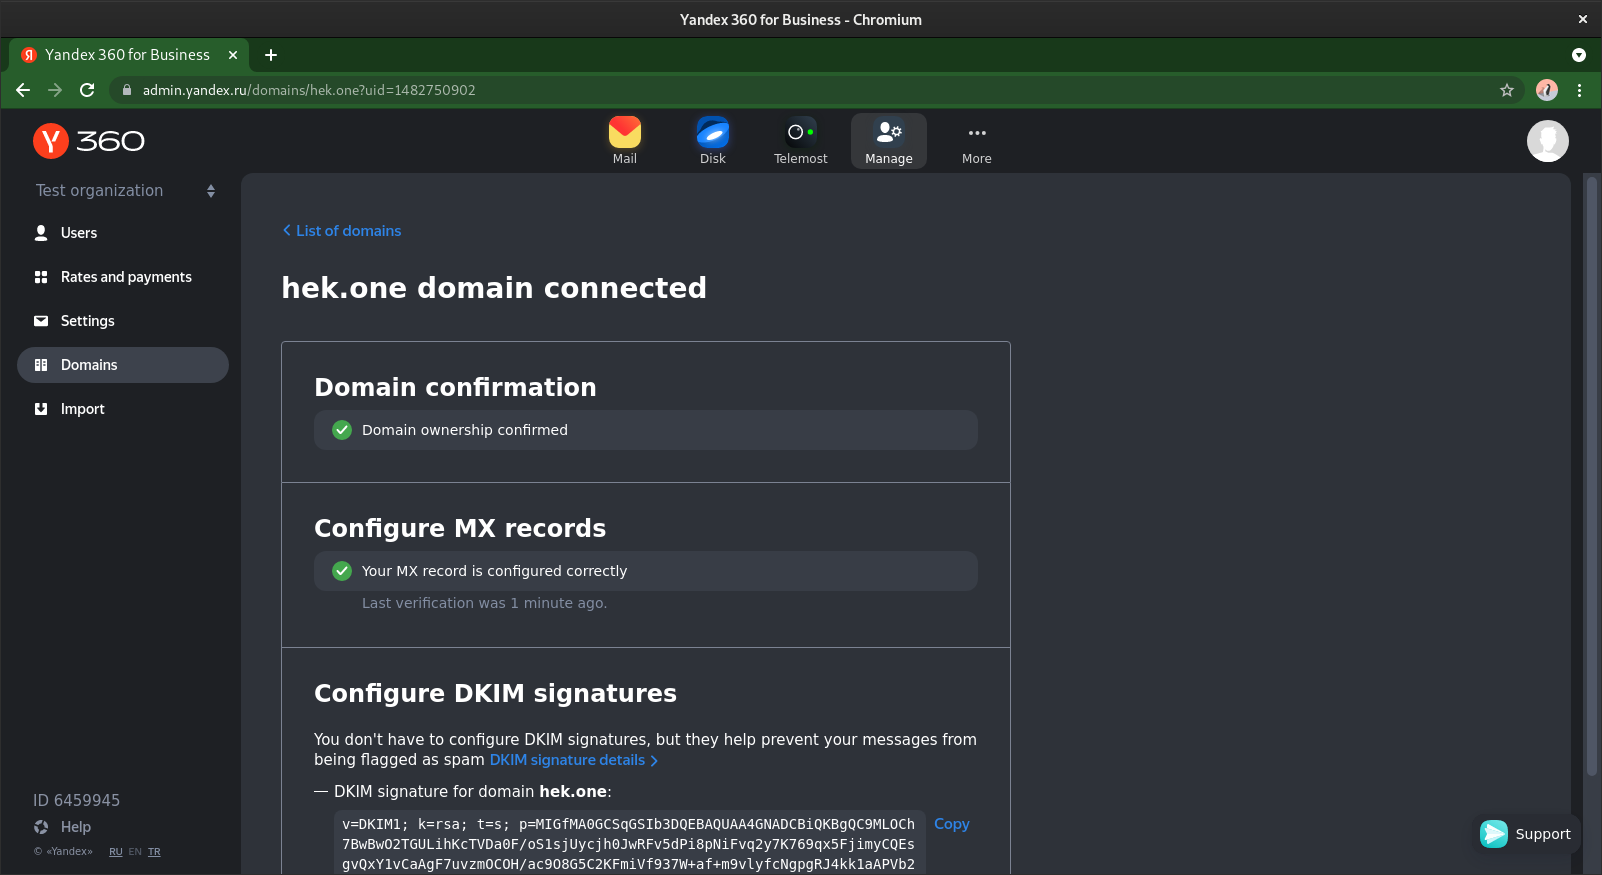
- Now you can add more mailboxes. Go to Users and add a new one.
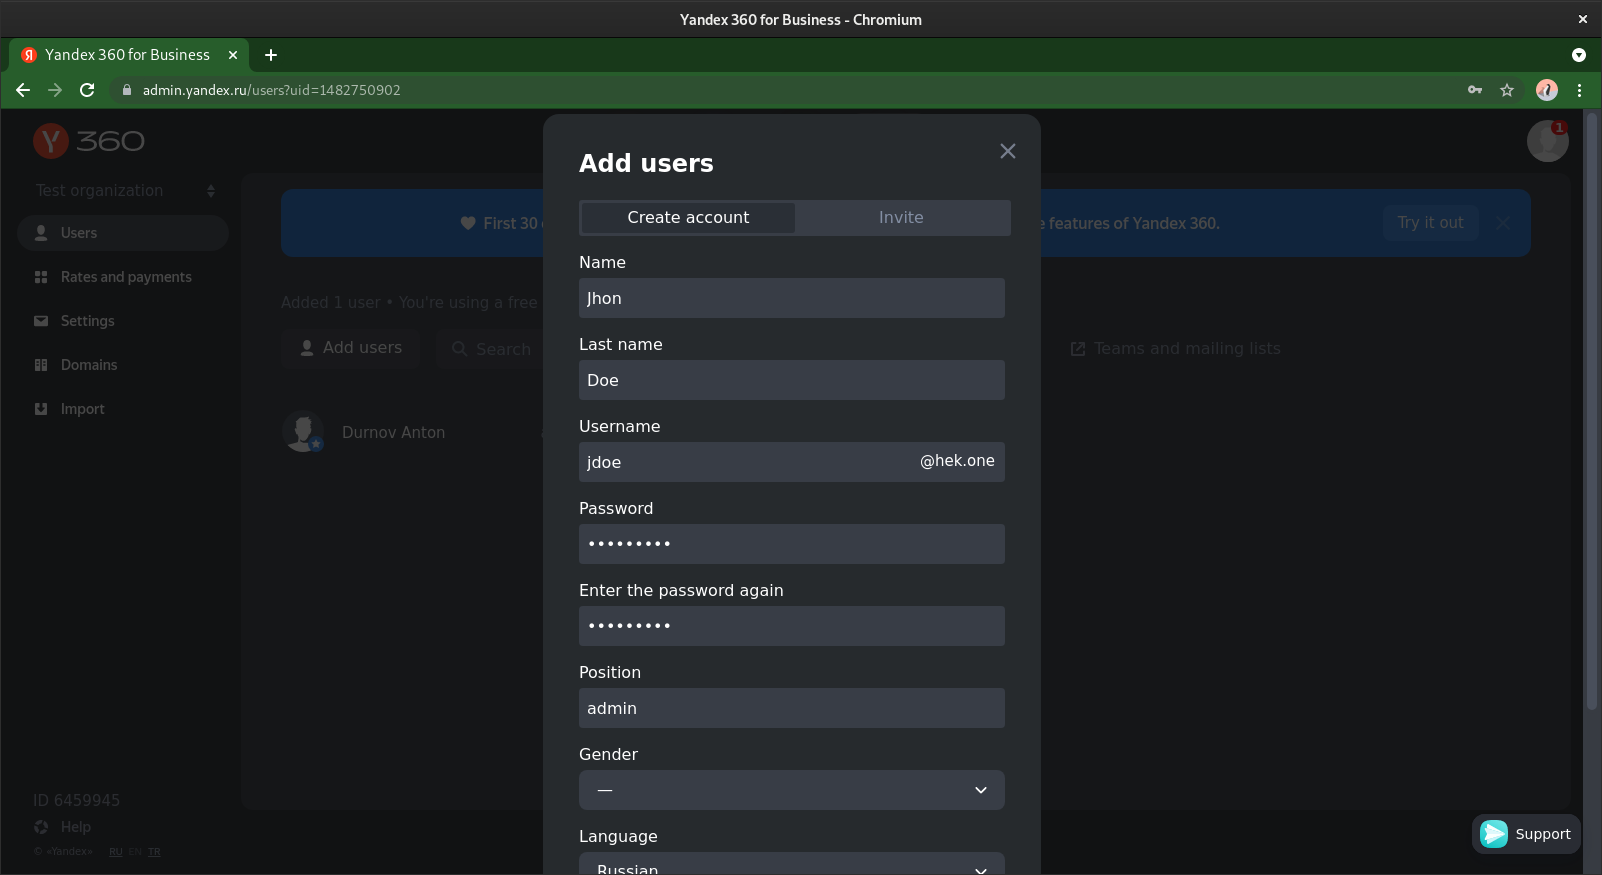
- You can start using your mailbox after your MX record is updated.
Your MX record wll not be updated right away. The process can take up to 72 hours.
Or use instruction to connect email domain.
Connecting Yandex.Mail to CS-Cart and Multi-Vendor
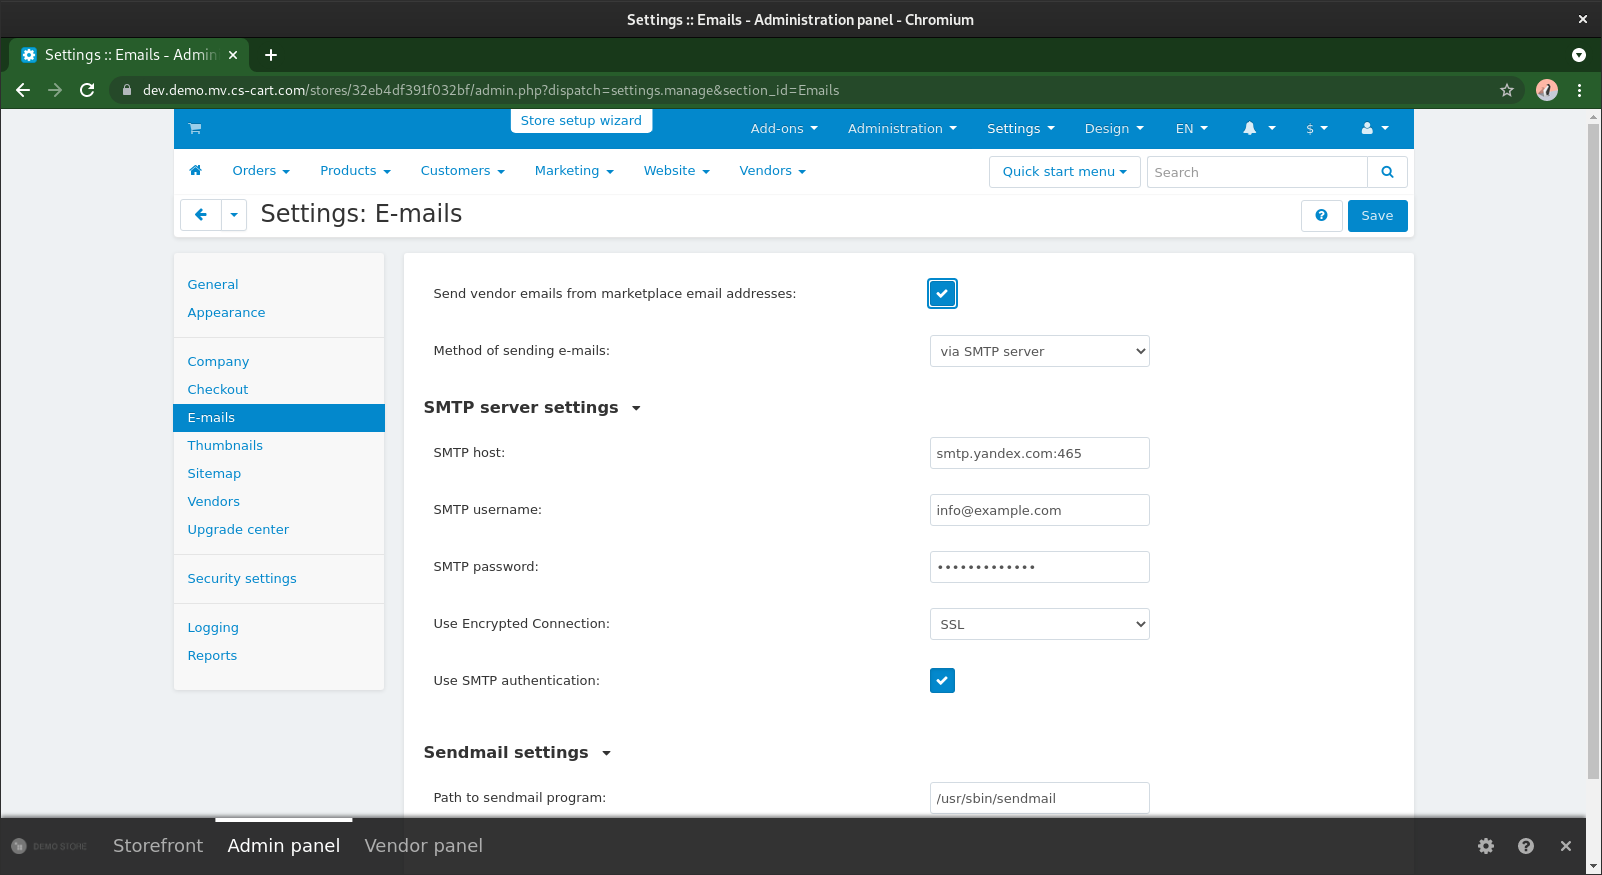
You can connect Yandex.Mail for domain to CS-Cart and Multi-Vendor using the SMTP server.
- Log in to the admin panel of your store.
-
Navigate to Settings –> E-mail. Fill in the settings of the SMTP server.
- SMTP host:
smtp.yandex.com:465 - SMTP username:
Email address associated with your Yandex.360 account - SMTP password:
Your password - Use Encrypted Connection:
SSL - Use SMTP authentication:
Yes
- SMTP host:
-
Navigate to Settings –> Company and specify the new email address for the store departments.
- Check to make sure emails are sent correctly from your store. The easiest way to do that is to open the settings of your admin profile and change any of the settings. After you save the changes, an email notification should be sent.
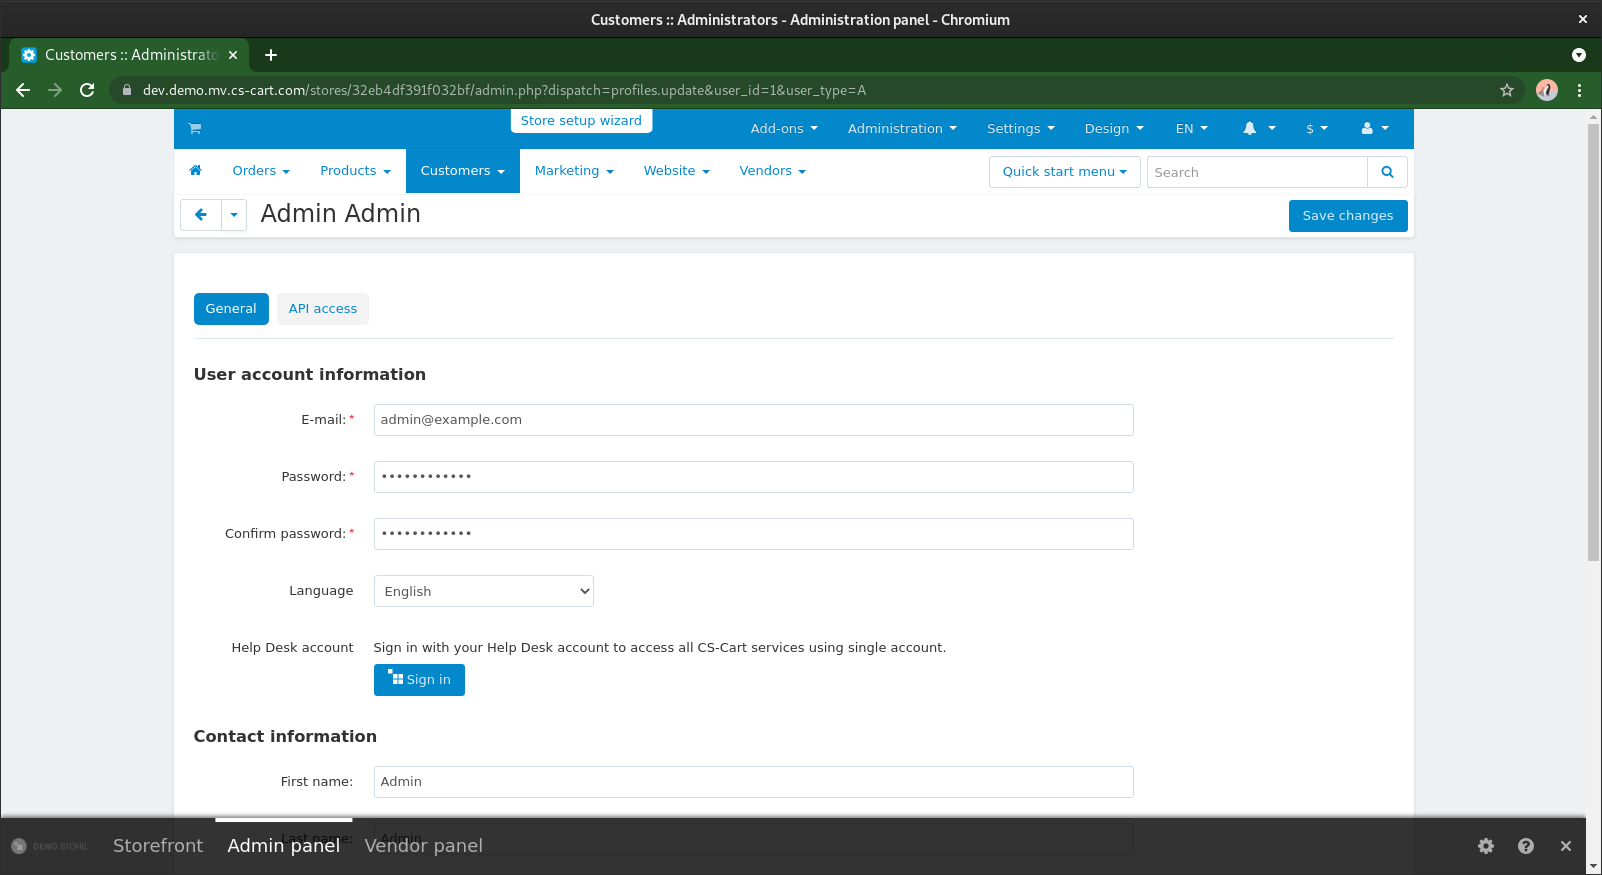
- Check your inbox. You have configured your Yandex mail successfully.

Hint
If you have a problem, need assistance with tweaks or a free consultation, if you just want to discuss your project with experts and estimate the outcome, if you're looking for a solution that reinforces your online business, we will help. Let us know through Scalesta account or email.
